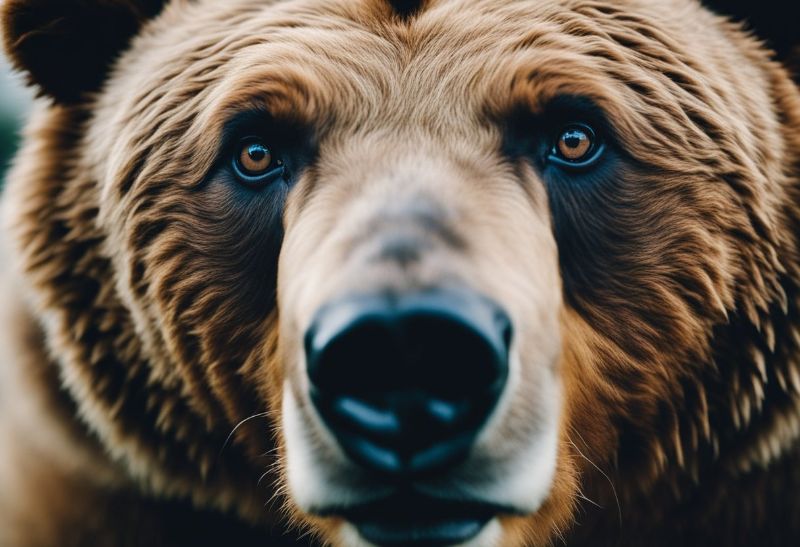
This wildlife photography guide starts with one rule: make accurate, compelling images without changing an animal’s behavior, damaging habitat, or creating avoidable risk. If an animal becomes more alert, stops feeding, changes direction, vocalizes, hides, charges, or leaves because of your presence, you are too close or have stayed too long.
Use a longer lens instead of moving closer, learn the rules for the exact site and species before arrival, and treat nests, dens, young animals, roosts, and sensitive species as high-risk subjects. Camera technique matters, but animal welfare always overrides the photograph.
Wildlife photography guide: the essentials
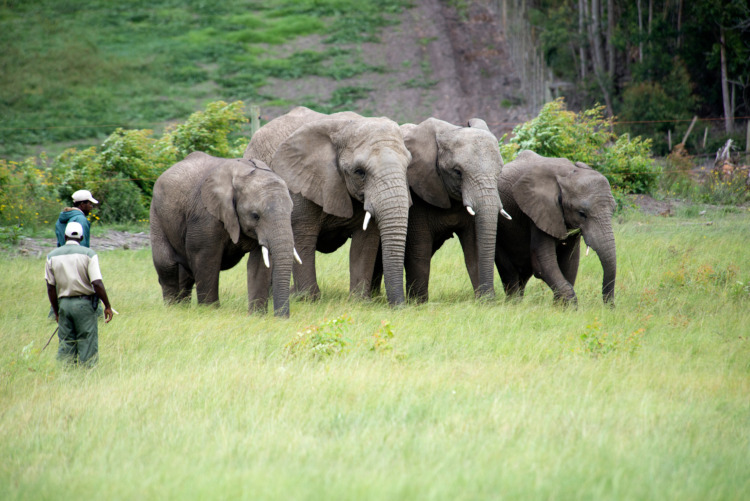
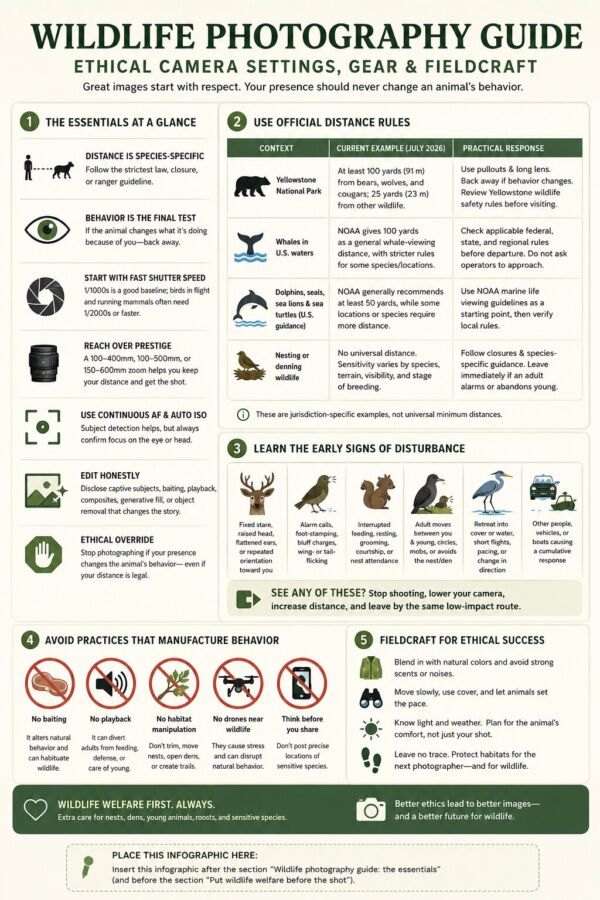
- Distance is site- and species-specific. Never rely on a single universal number. Follow the strictest applicable law, closure, ranger instruction, or viewing guideline.
- Behavior is the final test. A legal distance can still be disruptive if the animal changes what it is doing because of you.
- Start with enough shutter speed. For general action, 1/1000 second is a useful baseline; birds in flight and running mammals often need 1/2000 second or faster.
- Reach matters more than prestige. A practical 100–400mm, 100–500mm, or 150–600mm zoom often helps photographers keep their distance better than a shorter, faster lens.
- Continuous autofocus and Auto ISO simplify changing conditions. Subject detection can help, but the photographer must still confirm focus on the eye or head.
- Editing must preserve truth. Disclose captive subjects, baiting, playback, composites, generative fill, major object removal, and any intervention that changes how viewers interpret the scene.
Ethical override: stop photographing when your presence changes the animal’s behavior—even when your current distance is technically legal.
Put wildlife welfare before the shot
Use official distance rules, not generic estimates
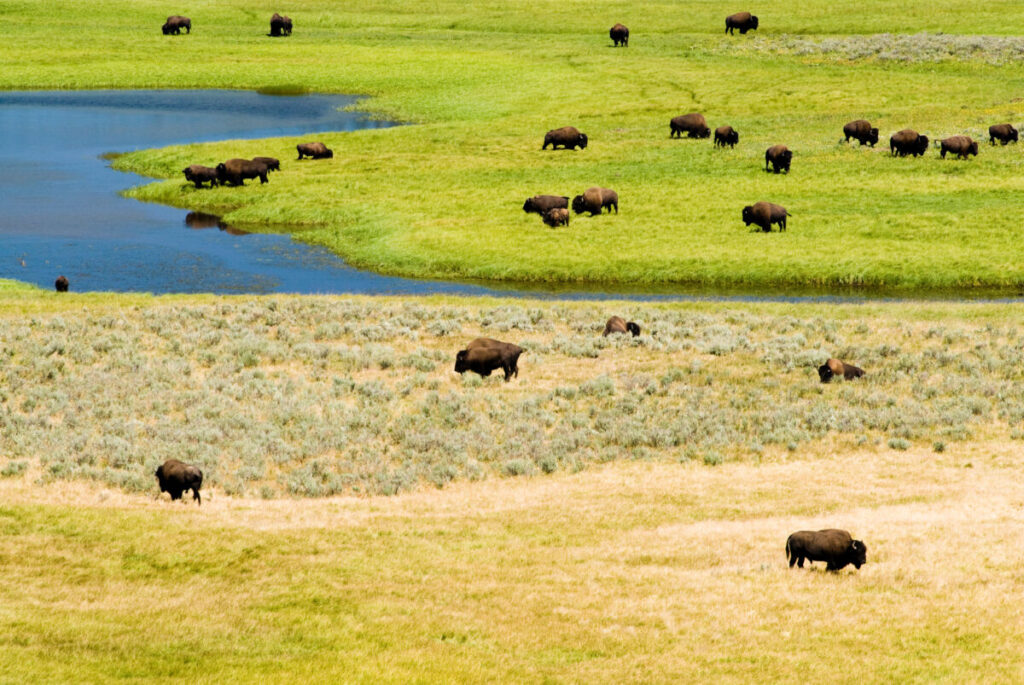
Wildlife viewing distances vary by country, protected area, species, season, and activity. They can also change during nesting, denning, pupping, migration, or periods of food scarcity. Check the land manager’s current rules before every visit and obey temporary closures.
The examples below were verified in July 2026. They illustrate why a global wildlife photography guide should not present one distance as universally safe or legal.
| Context | Current example | Practical response |
|---|---|---|
| Yellowstone National Park | The National Park Service requires at least 100 yards (91 meters) from bears, wolves, and cougars, and 25 yards (23 meters) from other wildlife. | Use designated pullouts and a long lens. Back away if an animal moves closer or changes behavior. Review the current Yellowstone wildlife safety rules before visiting. |
| Whales in U.S. waters | NOAA gives 100 yards as a general whale-viewing distance, with stricter rules for some species and locations, including North Atlantic right whales. | Check the applicable federal, state, and regional rule before departure. Do not ask a vessel operator to approach for a photograph. |
| Dolphins, seals, sea lions, and sea turtles in U.S. guidance | NOAA generally recommends at least 50 yards, while some locations or species require more distance. | Use the NOAA marine life viewing guidelines as a starting point, then verify local rules. |
| Nesting or denning wildlife | There is no responsible universal distance. Sensitivity varies by species, terrain, visibility, and stage of breeding. | Follow closures and species-specific guidance. Use established viewpoints and leave immediately if an adult alarms, flushes, stops provisioning young, or avoids the nest or den. |
Learn the early signs of disturbance
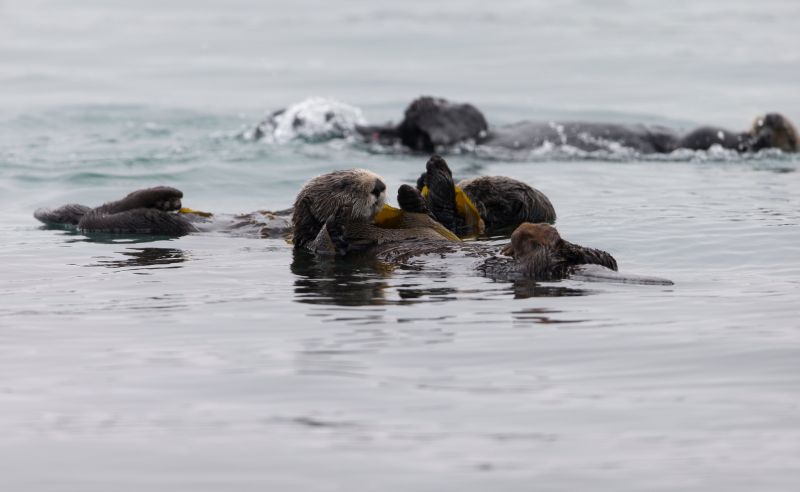
Do not wait for an animal to flee. Flight is a late response that may cost energy, expose young, interrupt feeding, or push the animal toward roads, people, or another threat. Watch for subtler changes first.
- A fixed stare, raised head, flattened ears, widened eyes, or repeated orientation toward you
- Alarm calls, foot-stamping, bluff charges, wing-flicking, tail-flicking, or defensive postures
- Interrupted feeding, grooming, resting, courtship, nursing, or nest attendance
- An adult moving between you and its young, circling, mobbing, or refusing to approach a nest
- Retreat into cover or water, repeated short flights, pacing, or a sudden change in travel direction
- Other photographers, vehicles, or boats causing a cumulative response even when your individual position seems distant
When you see any of these signs, stop shooting, lower the camera, and increase distance without blocking the animal’s escape route. Leave by the same low-impact route whenever possible.
Avoid practices that manufacture behavior
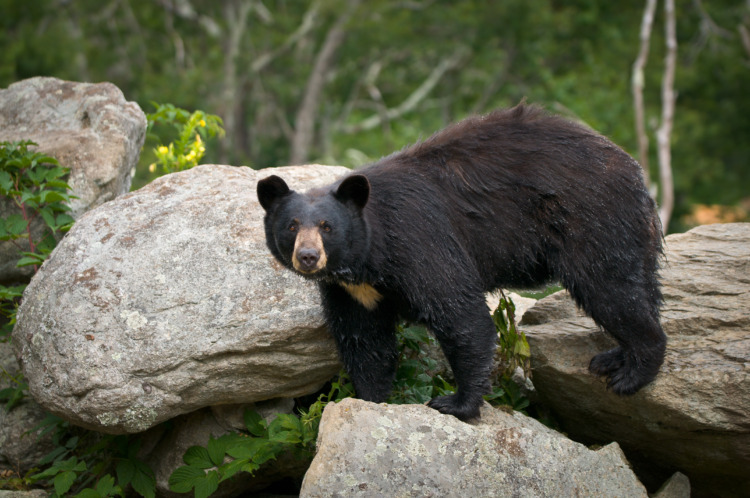
- Do not bait predators or raptors for action photographs. Food can habituate wildlife to people, roads, or vehicles and can alter hunting behavior.
- Do not use playback around nesting, territorial, or stressed birds. Recorded calls can divert adults from feeding, defense, or care of young. Audubon’s bird photography ethics guidance treats playback, nest photography, baiting, drones, and social sharing as welfare issues rather than mere creative choices.
- Do not trim vegetation, move a nest, open a den, or create a new trail. A cleaner background is not worth exposing an animal or damaging habitat.
- Do not handle reptiles, amphibians, insects, or small mammals for composition. Handling should be limited to authorized research, rescue, or qualified conservation work.
- Use flash conservatively. Avoid repeated flash at nests, roosts, dens, and with sensitive nocturnal animals. Follow site and species guidance when it exists.
- Do not reveal vulnerable locations casually. Remove precise geotags and describe sensitive nest, den, roost, or rare-species locations at a broader geographic level.
Treat drones as aircraft, not long lenses
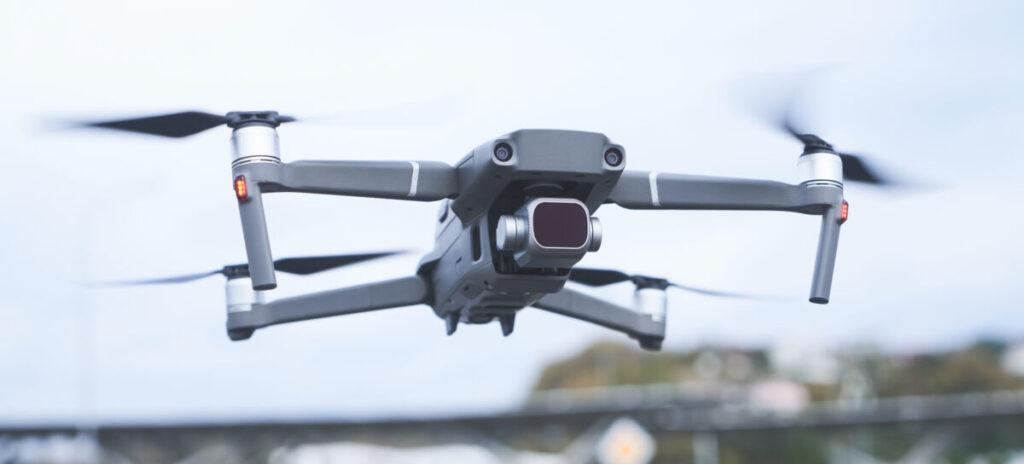
A drone can disturb wildlife before the operator notices a visible reaction. Noise, low flight, hovering, and pursuit may be perceived as a threat. Rules also depend on the airspace and the land from which the drone is launched, landed, or operated.
In most U.S. national parks, public launching, landing, or operation of drones is prohibited, subject to limited exceptions and permits. The National Park Service also warns that pursuing, harassing, or intentionally disturbing nesting or breeding wildlife can lead to a citation. Check the current National Park Service drone policy and the rules for the exact location. Where drone use is legal, never chase, circle, descend toward, or hover over animals.
Choose wildlife photography gear that supports distance and control
The best wildlife photography setup is the one you can carry, operate quickly, and use from a responsible distance. A dependable autofocus system, a lens with enough reach, and familiar controls usually matter more than the highest frame rate or the largest sensor.
Lens choices by subject and working style
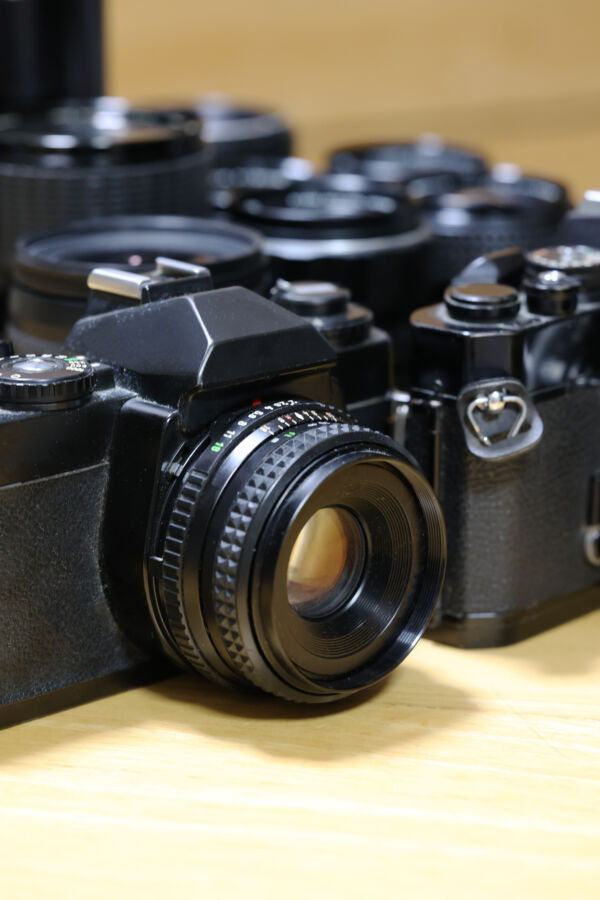
| Lens range or type | Best suited to | Strengths | Tradeoffs |
|---|---|---|---|
| 70–300mm zoom | Larger mammals, zoos with clear welfare standards, urban wildlife, and travel with limited weight | Light, affordable, easy to handhold | Often too short for small birds or distant subjects; never compensate by approaching |
| 100–400mm or 100–500mm zoom | Mixed wildlife, safaris, shorebirds, larger birds, and mammals | Strong balance of reach, framing flexibility, and portability | Smaller maximum aperture than many primes; backgrounds require careful positioning |
| 150–600mm or 200–600mm zoom | Birds, wary mammals, wetlands, open habitats, and distant behavior | Substantial reach at a lower cost than long primes | Heavier, slower aperture, and more demanding in low light |
| 400mm, 500mm, or 600mm prime | Low-light action, birds in flight, and specialized professional work | Fast autofocus, strong optical quality, and wider apertures on many models | High cost, considerable weight, and less framing flexibility |
| Wide-angle or short telephoto | Environmental portraits, camera traps, and animals photographed from secure established positions | Shows habitat and scale | Requires careful remote technique or naturally close, safe conditions; it is not permission to approach |
| Macro lens | Insects, spiders, plants, tracks, feathers, and other small details | High magnification and strong close-focus performance | Very shallow depth of field; field ethics still prohibit handling or staging wildlife |
Teleconverters can add reach, but they reduce incoming light and may slow autofocus depending on the camera and lens. Test the exact combination before relying on it for a trip. Cropping is also preferable to moving closer, but heavy cropping cannot recover missed focus, heat distortion, or poor atmospheric conditions.
Camera body features that genuinely help
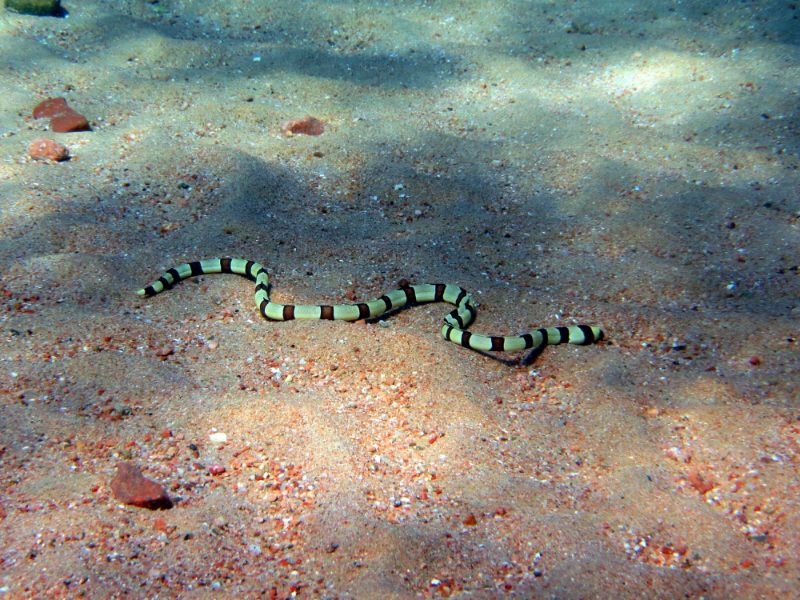
- Reliable continuous autofocus: Look for subject tracking that remains stable against branches, grass, water, and busy backgrounds.
- Animal or bird subject detection: Eye detection is useful when it works, but keep a zone or single-point mode ready for backlit, obscured, or very small subjects.
- Usable high-ISO files: Dawn, dusk, forests, and overcast conditions often require higher ISO to preserve shutter speed.
- A deep buffer and fast cards: A long burst rate is less useful if the camera locks while files write to the card.
- Weather sealing and dependable battery life: These matter more in the field than small laboratory differences in image quality.
- Custom controls: Fast access to autofocus area, exposure compensation, shutter mode, and subject detection prevents missed behavior.
A reliable burst of roughly 8–15 frames per second is enough for many wildlife situations. Faster rates can help with wing position, takeoff, predation, or brief interactions, but they also create more files, fill buffers quickly, and increase editing time. Timing and anticipation remain more important than holding the shutter continuously.
Support and field accessories
- A monopod, tripod with a smooth head, or beanbag for long lenses
- Binoculars for finding and observing animals before raising the camera
- Spare batteries, formatted memory cards, and a weatherproof card case
- A lens hood, rain cover, microfiber cloth, and blower
- Quiet, neutral clothing appropriate for the weather; camouflage is optional and never substitutes for distance
- A headlamp, water, first-aid supplies, navigation, and emergency communication appropriate to the location
- An established hide or blind when allowed; never place one where it blocks a route to food, water, a nest, or a den
Best camera settings for wildlife photography
A dependable starting setup for wildlife action is manual exposure with Auto ISO, 1/1000 second, the widest useful aperture, continuous autofocus, subject detection when reliable, a short high-speed burst, and RAW capture. Raise the shutter speed to 1/2000–1/3200 second for birds in flight or running animals. For a still subject in low light, lower the shutter speed only as far as the animal’s movement—not just your handholding—allows.
The settings below are starting points, not fixed rules. Body size, wingbeat, direction of movement, focal length, stabilization, distance, and desired motion blur all affect the result.
| Subject or situation | Starting shutter speed | Starting aperture | Focus and burst approach |
|---|---|---|---|
| Resting large mammal | 1/500–1/1000 sec | f/5.6–f/8 | Continuous AF or single AF; low or short burst |
| Walking mammal | 1/1000–1/1600 sec | f/5.6–f/8 | Continuous AF with tracking; short burst |
| Running, jumping, or fighting mammal | 1/2000–1/3200 sec | Widest useful aperture | Continuous AF; high burst in controlled sequences |
| Perched bird | 1/500–1/1250 sec | f/5.6–f/8 | Eye AF or a small zone; watch for takeoff |
| Large bird in flight | 1/1600–1/2500 sec | f/5.6–f/8 | Continuous AF; zone or tracking; high burst |
| Small or fast bird in flight | 1/2500–1/4000 sec | Widest useful aperture | Continuous AF; wider zone; high burst |
| Still animal in low light | 1/250–1/800 sec | Widest useful aperture | Support the lens; shoot short bursts between movements |
| Macro insect or small detail | 1/250–1/1000 sec | f/8–f/11 when light allows | Single-point AF or manual focus; stabilize the camera rather than the subject |
Manual exposure with Auto ISO
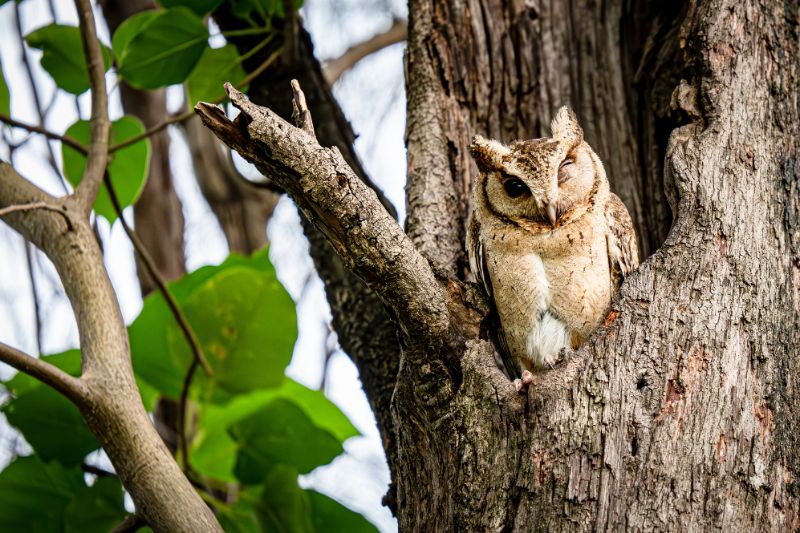
This mode lets you lock the two creative variables that matter most for wildlife—shutter speed and aperture—while the camera adapts ISO as light changes. Set a maximum ISO only if you understand the tradeoff: a noisy sharp file is usually more useful than a clean file blurred by subject movement.
Use exposure compensation when the camera allows it with manual plus Auto ISO. Bright snow, pale sand, white birds, dark forests, and backlit subjects can mislead metering. Check the histogram and highlight warning rather than judging exposure only from the rear-screen preview.
Aperture and depth of field
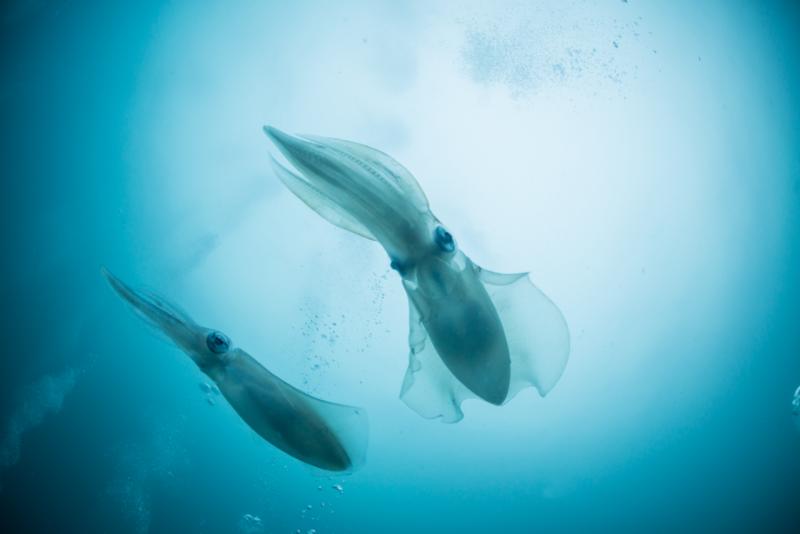
- Use the widest practical aperture when light is low or the background is distracting.
- Stop down to roughly f/7.1–f/9 when a turned head, long muzzle, spread wings, or more than one animal must be sharp.
- At long focal lengths and close subject distances, depth of field can be very thin. Focus on the nearest visible eye unless the story requires another point of focus.
- For an environmental image, a smaller aperture can preserve habitat detail, but do not sacrifice the shutter speed needed for the animal.
Autofocus that survives real field conditions
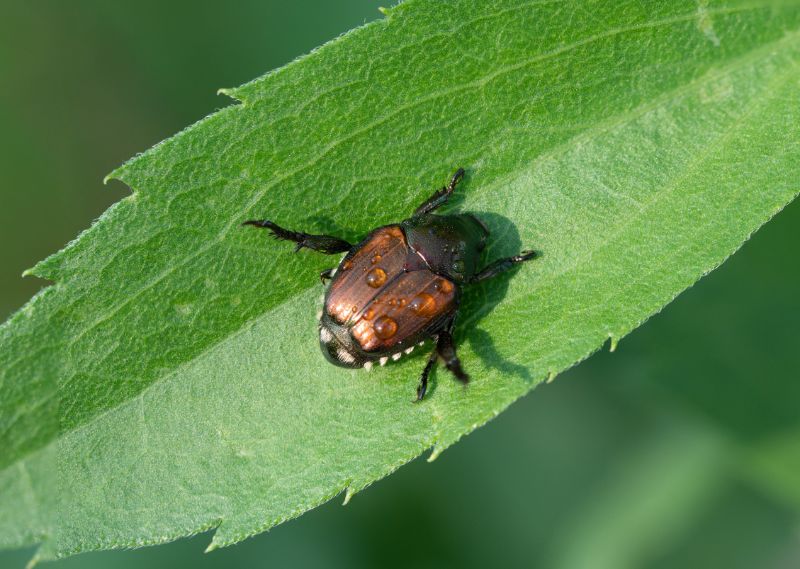
- Continuous AF: Use it for moving subjects and for animals that may move without warning.
- Subject or eye detection: Let it assist, then verify that the box is on the visible eye rather than a branch, wing, horn, or high-contrast background.
- Zone AF: Useful for birds in flight and unpredictable movement when a single point is difficult to keep on the subject.
- Single point or small area: Better when an animal is partly obscured by grass or branches.
- Pre-focus: Focus on a perch, trail opening, water edge, or another likely action point before the behavior occurs.
- Back-button focus: Optional, not mandatory. Use it only if it makes your operation more consistent.
Electronic shutters can produce rolling-shutter distortion in fast wingbeats or rapid lateral movement on some cameras. Test mechanical, electronic first-curtain, and electronic shutter modes before an important session, and check files at high magnification when wing or propeller-like motion looks bent.
RAW, JPEG, and burst discipline
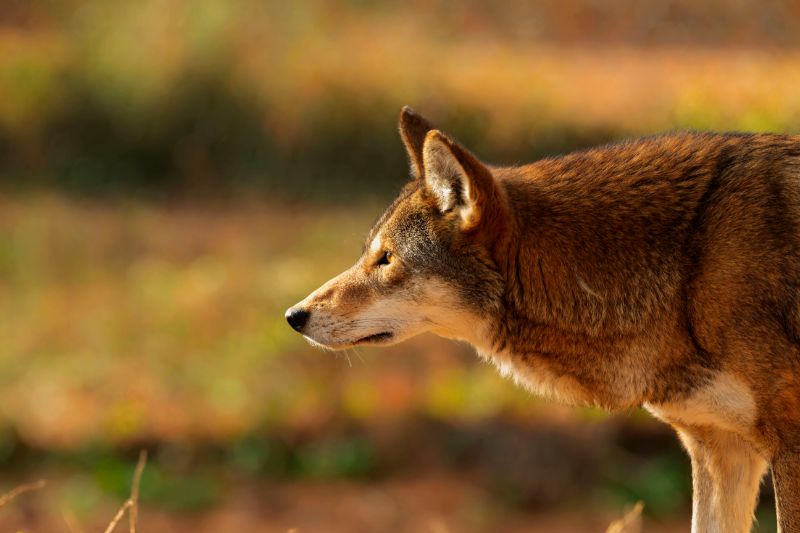
RAW files retain more latitude for recovering highlights, opening shadows, correcting white balance, and managing noise. RAW+JPEG can speed sharing when storage and buffer depth allow. Use short bursts around meaningful behavior rather than recording every second; this protects the buffer, reduces culling, and keeps attention on the animal.
Find wildlife locally without creating pressure
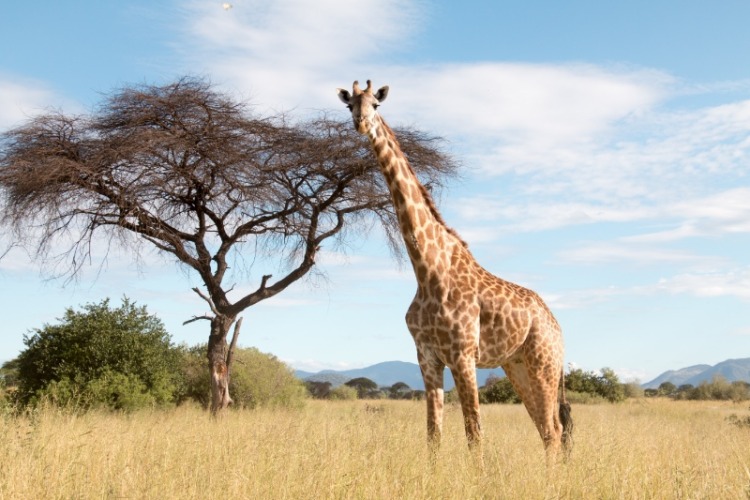
Local wildlife is often the best place to develop skill because repeated, low-pressure observation teaches behavior better than a single expensive trip. Start with public parks, wetlands, refuges, coastal paths, river corridors, agricultural edges, and urban green spaces where wildlife viewing is allowed.
Learn what defines a species and how species are classified, then narrow your research to the animal’s habitat, diet, active period, seasonal movements, breeding cycle, and known stress behavior. Good identification prevents misleading captions and helps you anticipate action without provoking it.
A seven-step planning workflow
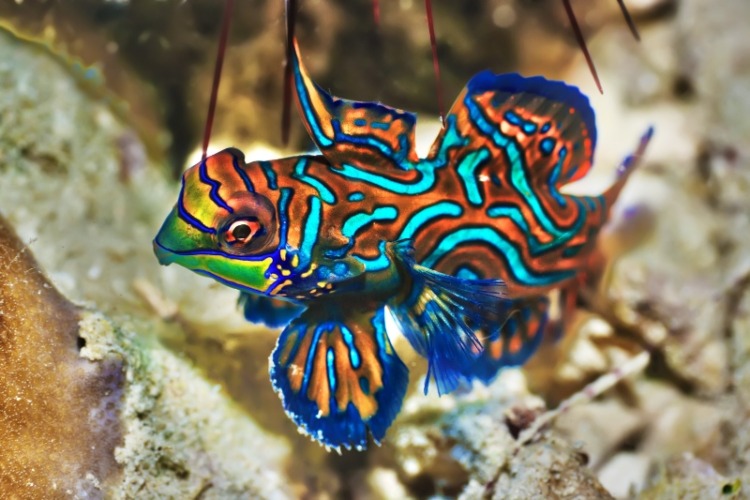
- Choose one target behavior, not just one species. Feeding, preening, courtship, migration, play, and parent-young interactions require different timing and distance.
- Check current access. Confirm opening hours, trail closures, permits, seasonal restrictions, tide, weather, fire risk, and hunting activity where relevant.
- Study the light. Note sunrise or sunset direction, likely backgrounds, shade, and safe public positions before carrying heavy equipment.
- Observe first. Use binoculars to identify travel routes, resting areas, and warning behavior before setting up the camera.
- Choose a position that does not intercept movement. Never stand between an animal and water, food, cover, young, or an escape route.
- Define stop conditions in advance. Leave if the animal alarms, the crowd grows, the route becomes unsafe, weather deteriorates, or a closure begins.
- Generalize sensitive location data. Keep precise coordinates for legitimate conservation reporting when appropriate, but do not publish them by default.
Approach less; wait better
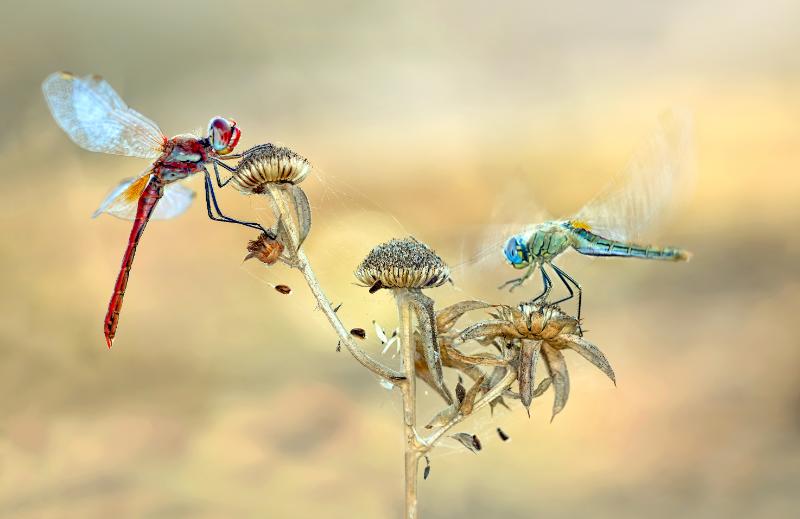
The strongest fieldcraft often looks like inactivity. Settle into a legal position, minimize movement, keep voices low, and let the scene return to normal. Do not advance each time the animal relaxes. That pattern turns tolerance into repeated pressure.
- Use established trails, hides, overlooks, and vehicle pullouts.
- Allow the animal to control distance; never intercept, surround, herd, or follow it into cover.
- Keep groups compact and avoid forming a semicircle around a subject.
- Do not use a vehicle to block wildlife or stop in an active traffic lane.
- Limit repeated visits to nests, dens, roosts, and predictable resting sites.
- Leave before darkness, weather, tide, or animal movement removes your safe exit.
Composition and light that preserve the animal’s story
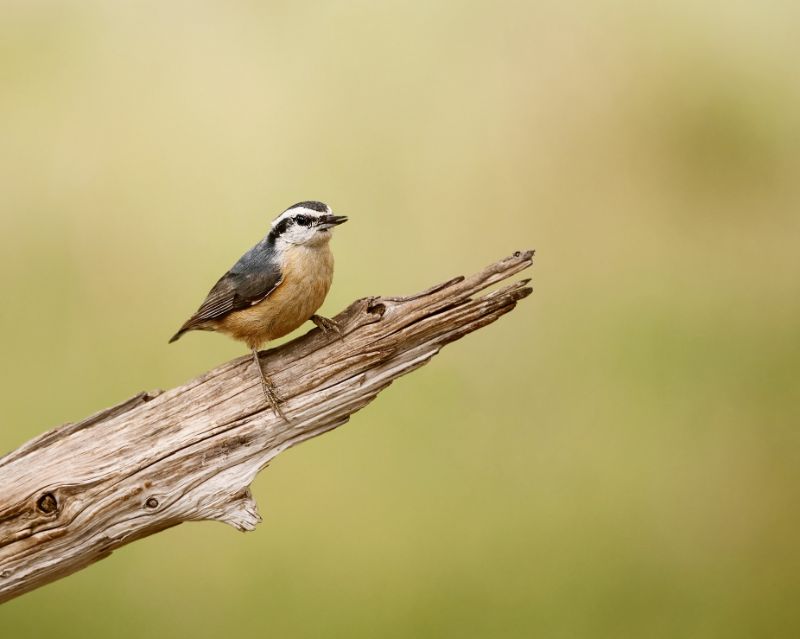
A frame-filling portrait is only one kind of wildlife photograph. Habitat, weather, tracks, prey, plants, human infrastructure, and other animals can explain far more about how a species lives and what pressures it faces.
Build the frame around behavior
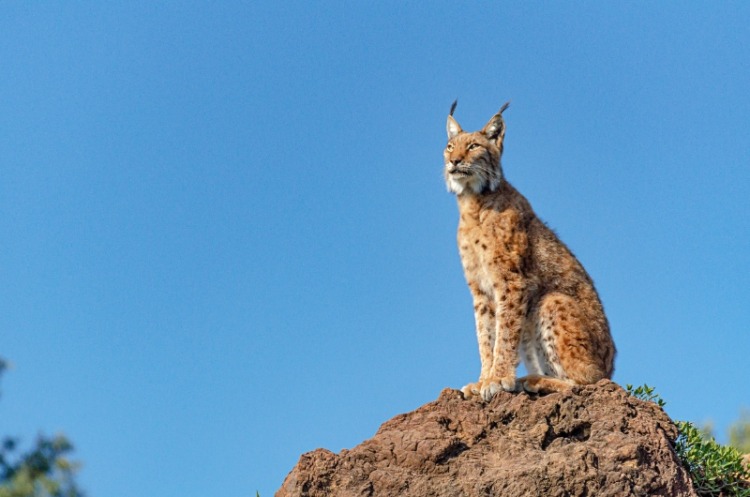
- Focus on the eye or head: Viewers read intention through gaze and posture, even when the full body is not sharp.
- Leave space for movement: Give the animal room in the direction it is looking, flying, swimming, or running.
- Use habitat deliberately: A smaller subject in a meaningful landscape can communicate season, scale, dependence, or threat.
- Clean the background by changing angle, not habitat: A small legal shift left, right, higher, or lower may separate the subject from branches without trampling vegetation.
- Photograph sequences: An establishing frame, behavior, close detail, interaction, and aftermath tell a stronger story than five similar portraits.
- Watch the edges: Avoid clipped feet, wings, antlers, tails, and distracting bright patches unless the crop is intentional.
Work with available light
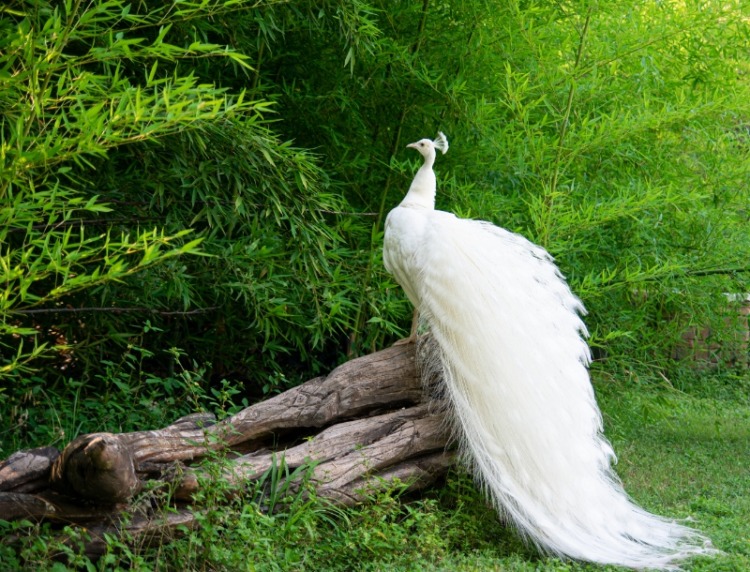
Low-angle morning and evening light can add texture and reduce harsh shadows, but dawn and dusk are also periods of intense feeding and movement for many species. Choose a position before activity peaks rather than moving repeatedly as the light improves.
- Front light gives reliable color and detail but can look flat.
- Side light reveals fur, feather, scale, and terrain texture.
- Backlight can outline fur, breath, wings, rain, dust, or spray; protect highlights and watch flare.
- Overcast light reduces contrast and often works well for forests, dark animals, pale birds, and intimate behavior.
- Silhouettes depend on a recognizable posture and a clean background; expose for the sky and avoid merging body parts.
Special situations: birds, marine life, night, and macro
Birds and nests
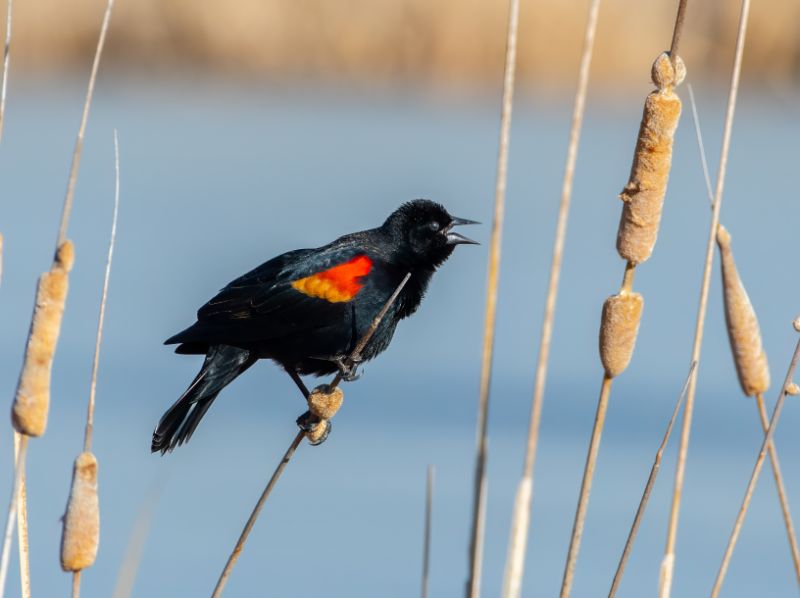
Birds at nests are especially vulnerable to repeated pressure. Do not clear branches, place a lens through nest cover, block a flight path, or stay when an adult hesitates to return. Beach-nesting birds may be difficult to see before they flush, so remain outside signed closures and watch where every step lands.
For birds in flight, begin with 1/2000 second, continuous autofocus, a wide or medium tracking area, and enough aperture to keep the head and near wing sharp. Acquire the bird early, pan smoothly, and continue through the action. Avoid chasing repeated takeoffs merely to practice.
Marine wildlife
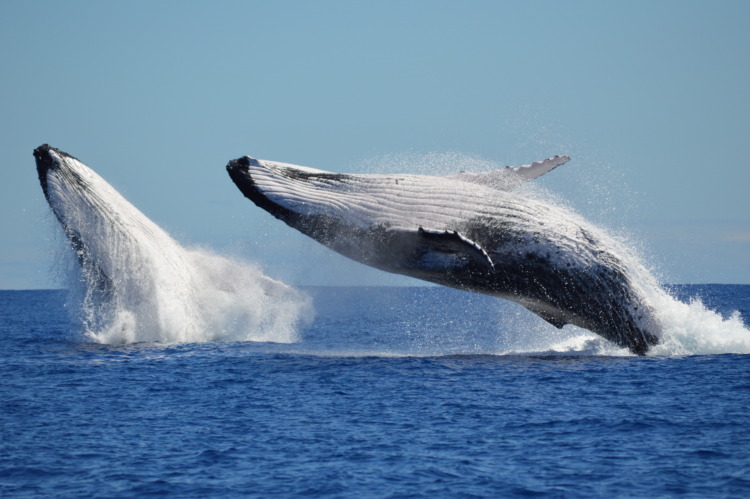
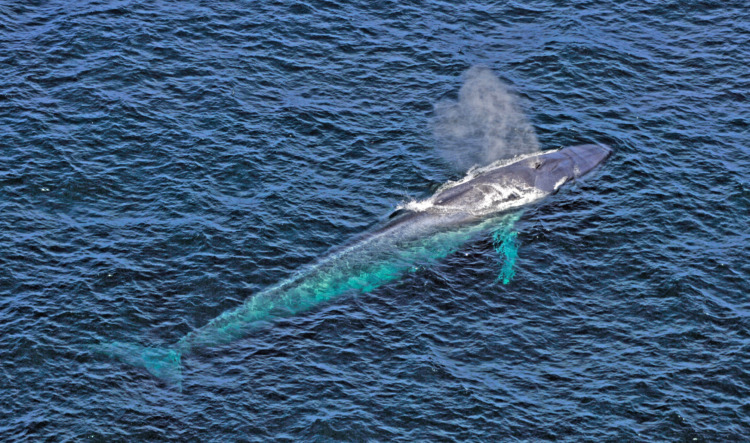
Choose operators who follow wildlife-viewing standards, limit time with animals, and refuse to cut off travel routes. A telephoto lens and stable stance are safer than asking for a closer pass. On shore, give seals, sea lions, turtles, and nesting birds a clear path between land and water. Never touch, feed, swim toward, or attempt to trigger a reaction from wild marine animals.
Night and nocturnal wildlife
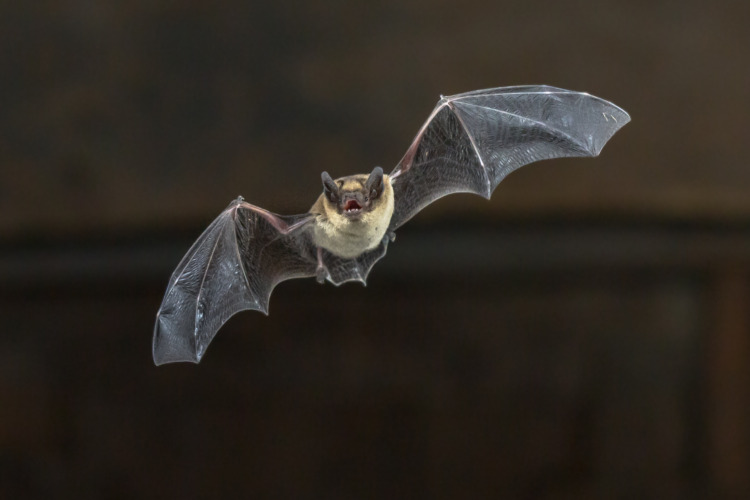
Night work adds navigation risk and can place light-sensitive animals under repeated illumination. Use the minimum light needed for safe operation, avoid prolonged spotlighting, and do not combine bright light, playback, and close approach. Work with a partner where appropriate, know the site’s closing time, and preserve a clear route out.
Macro subjects
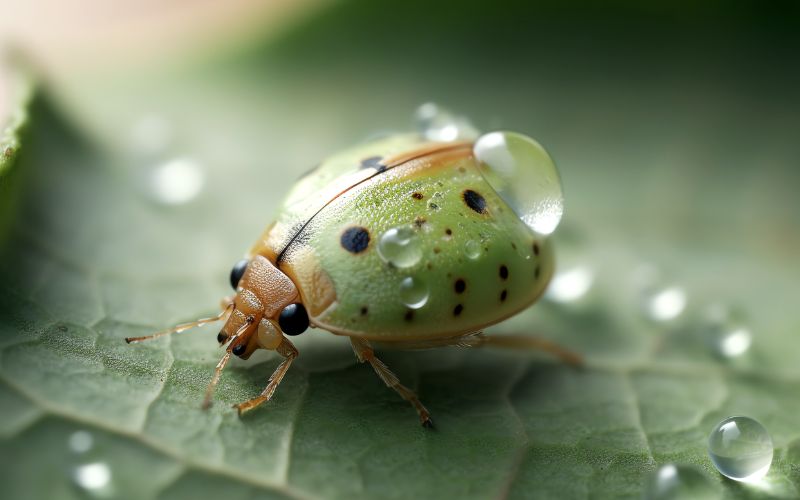
Photograph insects, amphibians, reptiles, and other small animals where they are found. Do not chill, restrain, relocate, spray, or stage them. Stabilize the camera with careful body position, a small support, or focus bracketing when appropriate. Check the ground before kneeling and restore any naturally displaced loose material without altering the animal’s shelter.
Post-process wildlife photographs without changing the evidence
Editing is not inherently deceptive. The ethical question is whether the final image creates a false belief about the animal, behavior, location, habitat, or moment. Standards also vary by use: a clearly labeled art composite has different expectations from journalism, scientific documentation, a competition entry, or a conservation campaign.
A defensible editing workflow
- Cull for behavior and welfare first. Reject frames made during obvious distress, crowding, or unsafe interaction rather than rewarding the moment with publication.
- Correct exposure and white balance. Keep fur, feather, skin, water, and habitat color plausible.
- Apply noise reduction carefully. Preserve feather edges, whiskers, scales, and fine habitat texture.
- Crop for composition. Do not crop so tightly that the image hides essential context or falsely suggests proximity.
- Use local adjustments sparingly. Guide attention without inventing light or removing signs that materially change the story.
- Sharpen for the final output size. Avoid halos and crunchy texture.
- Write an accurate caption. State intervention, captivity, staging, or major digital alteration when relevant.
| Edit or circumstance | Recommended treatment |
|---|---|
| Exposure, white balance, contrast, noise reduction, and output sharpening | Generally acceptable when they do not materially misrepresent color, light, behavior, or habitat. |
| Crop, horizon correction, and sensor-dust removal | Generally acceptable; retain enough context for the intended use. |
| Removing a distracting twig, tracking tag, fence, person, road, or prey item | Disclose when removal changes the ecological, scientific, welfare, or documentary meaning. |
| Adding or moving an animal, replacing the sky, combining moments, or using generative fill | Label clearly as a composite or digital artwork. Do not present it as an unaltered wildlife document. |
| Captive, habituated, baited, playback-responsive, or staged subject | State the circumstance in the caption. Do not imply spontaneous wild behavior. |
| Competition, journalism, research, or citizen-science submission | Follow the specific rules, retain the original files and metadata, and disclose all required processing. |
Use captions as evidence, not decoration
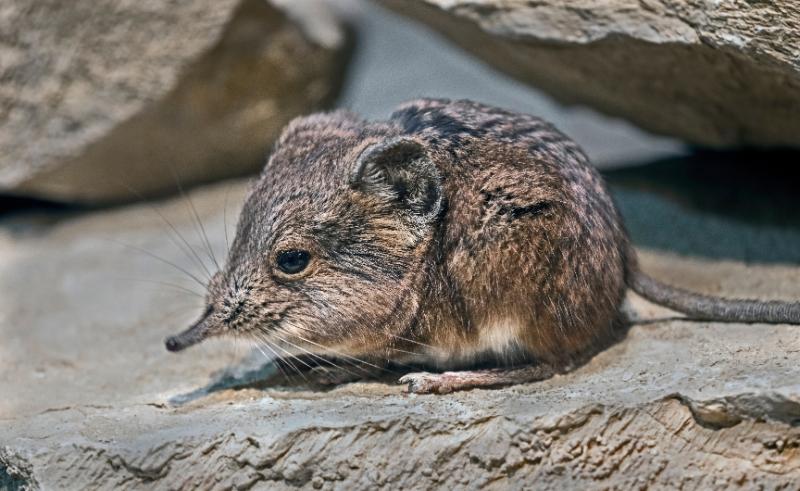
A useful wildlife caption can include the common name, scientific name when confidently identified, observed behavior, habitat, season or date, general location, and relevant technique. It should also say whether the animal was wild or captive and disclose baiting, playback, flash, a hide, a remote camera, a composite, or major AI-assisted alteration when those details affect interpretation.
Do not publish exact coordinates for vulnerable wildlife merely to make a caption feel precise. “Coastal wetland in northern Florida” may be more responsible than naming a small nesting site.
Turn wildlife photography into useful conservation communication
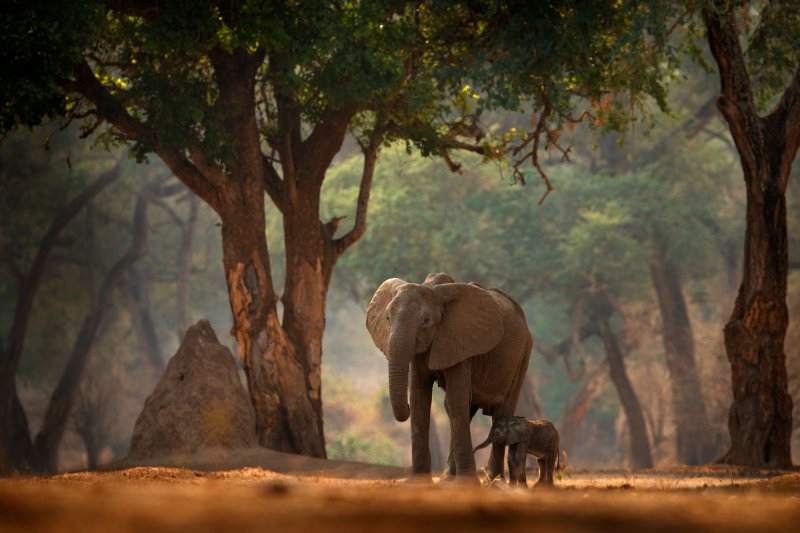
A photograph does not protect a species by itself. It becomes useful when accurate context, responsible distribution, and a credible next step accompany the image. The most effective conservation work often connects an animal to its habitat, the pressure it faces, the people doing the work, and evidence that action can help.
- Build a five-image story: habitat, portrait, behavior, pressure, and response or solution.
- Offer useful licensing: provide conservation groups, researchers, educators, or responsible local media with clear terms and accurate captions.
- Document change carefully: repeat photographs from lawful positions can show habitat restoration, seasonal shifts, or development pressure.
- Contribute observations responsibly: preserve original date and location data for legitimate projects while using privacy controls for sensitive species.
- Show results, not only crisis: well-documented conservation success stories can explain which interventions worked and why.
- Respect local knowledge and rights: obtain permission on private or community-managed land, credit guides and researchers, and avoid exposing culturally or ecologically sensitive places.
A practical first project is to choose one common local species and photograph it across several weeks. Learn its routine, make a small behavioral sequence, research its habitat needs, and publish the story with one realistic action readers can take. This develops field skill without placing pressure on a rare subject.
Wildlife photography field checklist
Before the session
- Verify access, permits, closures, viewing distances, drone rules, and local hazards
- Research the species, season, likely behavior, and known signs of stress
- Choose a lens that provides enough reach from the legal viewing area
- Set a baseline shutter speed, continuous autofocus, Auto ISO, and RAW capture
- Check weather, tide, sunrise or sunset, route, communication, and emergency supplies
- Decide in advance what behavior will make you stop or leave
During the session
- Observe before approaching or setting up
- Use established trails, hides, pullouts, and viewpoints
- Watch behavior continuously, not only through the viewfinder
- Keep bursts short and anticipate action
- Never bait, chase, surround, handle, or block an escape route
- Reduce cumulative pressure when other people arrive
- Leave no food, markers, cut vegetation, tracks off trail, or abandoned equipment
After the session
- Back up original files and retain metadata
- Edit without changing the biological or documentary meaning
- Write accurate species, behavior, location, and intervention details
- Remove or generalize sensitive coordinates before public sharing
- Credit guides, researchers, land managers, and conservation partners where appropriate
- Pair the final story with a specific, proportionate next step
Frequently asked questions
What are the best camera settings for wildlife photography?
Start with manual exposure plus Auto ISO, 1/1000 second, the widest useful aperture, continuous autofocus, subject detection when reliable, a short high-speed burst, and RAW capture. Raise the shutter speed to 1/2000–1/3200 second for birds in flight or running animals. Adjust for the subject’s speed, direction, distance, and the amount of motion blur you want.
What is the best time of day for wildlife photography?
Dawn and dusk often combine active wildlife with softer light, but the best time depends on the species, season, weather, tide, and local access rules. Research the animal’s routine, arrive before activity begins, and avoid repeated repositioning during feeding, nesting, or other sensitive behavior.
What is the best lens for wildlife photography?
For mixed wildlife, a 100–400mm or 100–500mm zoom offers a strong balance of reach and portability. A 150–600mm or 200–600mm zoom is useful for small birds and distant subjects. The best choice is a lens you can carry and use from a responsible distance; never compensate for a short lens by approaching wildlife.
How do I find wildlife to photograph near me?
Start with public parks, wetlands, refuges, river corridors, coastal paths, and urban green spaces where wildlife viewing is permitted. Research one species and one behavior, check current access and closures, scout with binoculars, and return at different times without publishing sensitive nest or den locations.
Can wildlife photography harm animals?
Yes. Close approach, crowding, baiting, playback, flash, drones, repeated nest visits, handling, habitat damage, and location sharing can interrupt feeding, breeding, resting, or care of young. Photography is lower impact when the animal controls the distance and its behavior remains unchanged.
Is baiting wildlife ethical for photography?
Baiting predators or raptors for an action photograph is not a responsible practice. It can alter natural behavior, associate people or roads with food, and create risk for wildlife. Normal backyard feeding has its own disease, hygiene, and local-rule considerations and should not be used to stage predation.
Can I use a drone for wildlife photography?
Only when both aviation and land-management rules allow it, and only without pursuing, circling, descending toward, or hovering over animals. Public drone launching or landing is prohibited in most U.S. national parks, subject to limited exceptions. Because animals may react before stress is obvious, a ground-based long lens is usually the safer choice.
How can wildlife photography help conservation?
Photography can support conservation when it documents habitat and behavior accurately, protects sensitive locations, supplies useful images to credible organizations, contributes appropriate observations, and gives readers a specific action. The image should be paired with evidence and context rather than an exaggerated claim that a photograph alone will save a species.
Make restraint part of the craft
Strong wildlife photography comes from preparation, patience, technical control, and honest storytelling. The photographer’s responsibility is not merely to avoid breaking a rule. It is to notice pressure early, choose the lower-impact option, and leave the animal able to continue its life as if the camera had not been there.
Begin with a common local species, use the gear you already know, and set one clear goal for each session. A well-observed image made from a respectful distance is more valuable than a dramatic frame produced by stress, staging, or concealment of the truth.
See Related: Complete Wildlife Corridor Success Stories: Global Ecosystem Connectivity Restoration That’s Healing Our Planet