Drip irrigation is a highly efficient method of watering your plants that involves delivering water directly to the roots of plants through a system of tubes, valves, and emitters. Unlike traditional watering methods that can waste much water due to evaporation and runoff, drip irrigation conserves water by minimizing waste and delivering the optimal amount of moisture to each plant.
This saves water and ensures your plants are evenly and consistently hydrated, promoting healthier growth and higher yields.
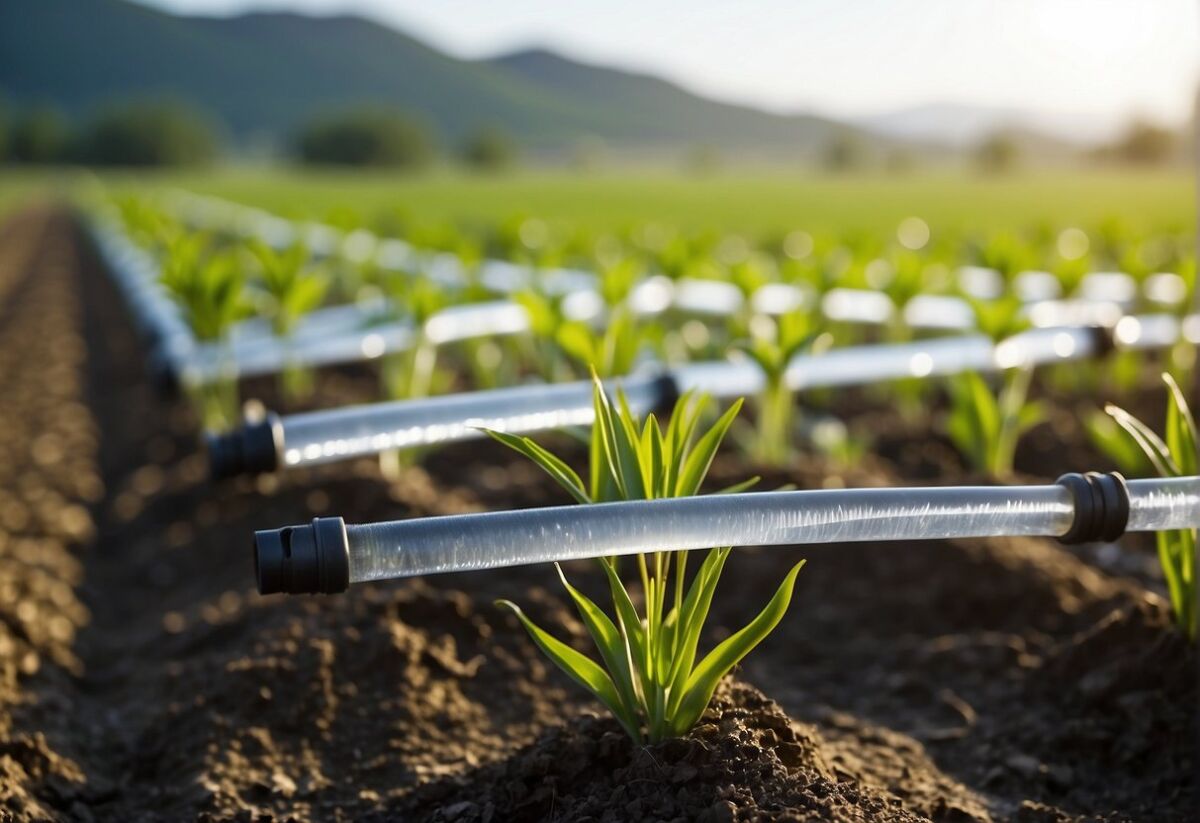
Installing a drip irrigation system in your garden can seem daunting at first, but it’s, in fact, a straightforward process that can provide immense benefits.
With a basic setup of mainline tubing, connectors, and drip emitters, you can tailor the drip system to fit the specific needs of your garden, be it a small patch or a large plot of land.
The adaptability of drip systems allows you to manage the watering schedule effectively, ensuring that your garden receives the right amount of water at the right time.
A drip irrigation system makes gardening easier for you and contributes to water conservation efforts. This system drastically reduces your water usage by targeting only the areas that need it, which is an eco-conscious choice that can help lower your water bills.
With some planning and simple maintenance, you can maintain a thriving garden that uses water resources wisely and efficiently.
Understanding Drip Irrigation Basics
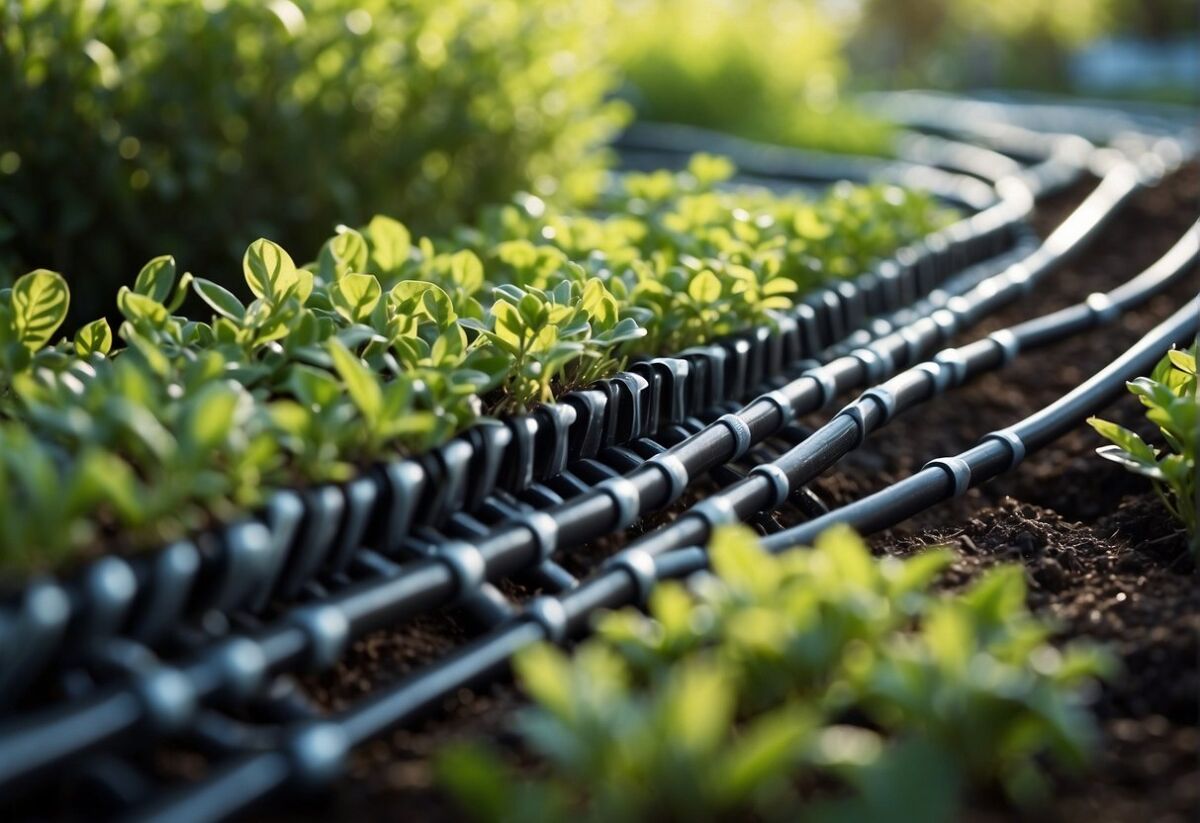
Drip irrigation systems are smart for watering your garden, landscape, or row crops. They offer a practical, water-efficient method of delivering moisture to plants directly at their roots. This targeted approach minimizes water waste and conserves a vital resource.
Key Components:
- Emitters: These are the heart of a drip irrigation system, delivering water at a controlled flow rate. Common flow rates are measured in gallons per hour (gph).
- Drip Tube: The tubing carries water from your supply to the emitters. The diameter of the tube affects the water pressure (psi).
- Pressure Regulators: These maintain the correct water pressure to ensure emitters function properly.
Soil Considerations:
Different soil types absorb water at varying rates. Sandy soils drain quickly, while clay soils hold water longer. Drip emitters are chosen based on soil type to ensure efficient water usage.
Installation Tips:
- Determine your soil type to select the right drip emitter.
- Measure the area to determine the length and diameter of the drip tube.
- Install a pressure regulator to maintain the recommended psi for your system.
With thoughtful planning and setup, your drip irrigation system can save water and reduce your bills while helping your plants thrive. Remember, with low flow rates, you can distribute water evenly across your garden or crops without the risk of overwatering.
A well-designed drip system reduces water waste and ensures that your plants receive the right amount of hydration for optimal growth.
See Related: Best Rainwater Collection Systems for Sustainable Living
Top Drip Irrigation Systems for Small to Large Gardens
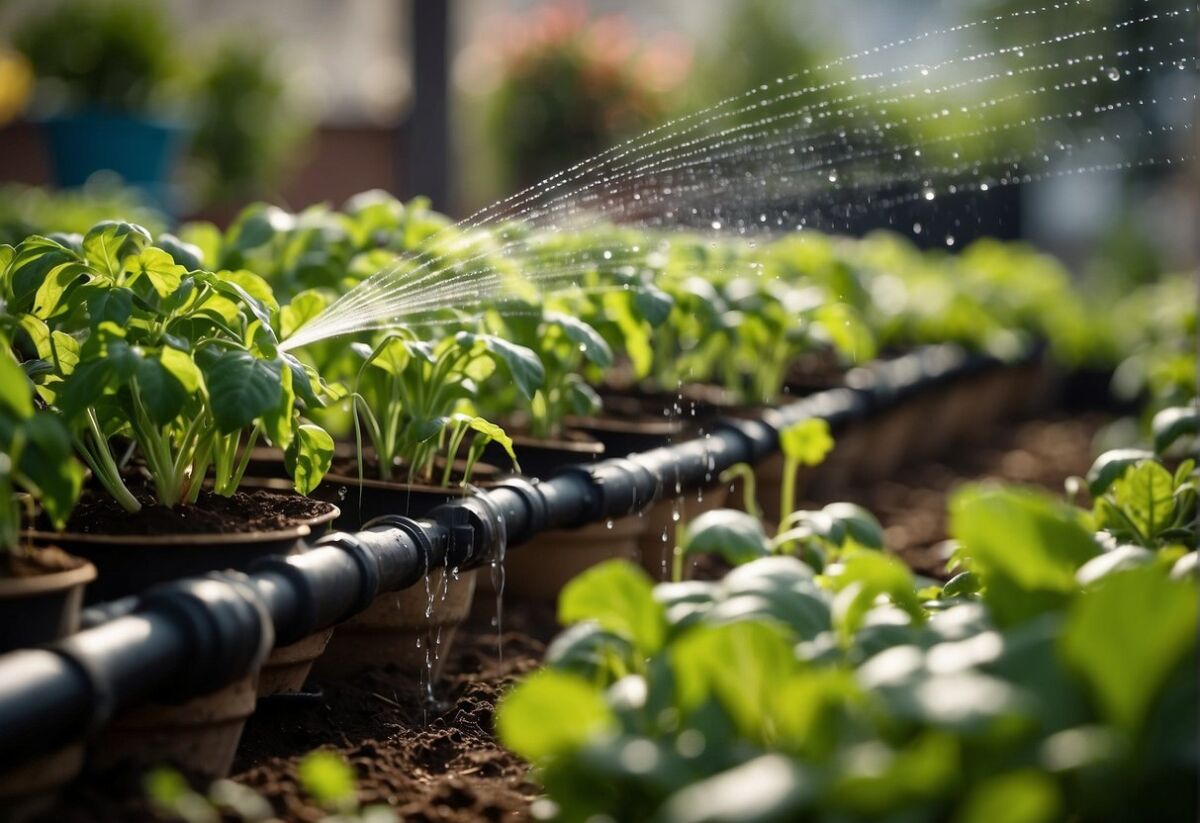
Selecting the right drip irrigation system can simplify watering, conserve water, and ensure your garden’s health, be it a small vegetable plot or expansive landscaping beds.
Evaluating Drip Irrigation Systems for Vegetable Gardens
When choosing a system for your vegetable garden, consider kits with drip emitters that deliver water directly to the plant roots. This precise watering approach means less water waste and reduced weed growth.
A popular choice is the Dig GE200 Drip & Micro Sprinkler Kit, which is versatile for any garden size and comes with adjustable emitters to meet various watering needs.
- Kit Components:
- Emitters
- Tubing
- Stakes
- Connectors
Considering Drip Systems for Landscaping Beds
For landscaping beds, look for systems that can be hidden under mulch to create an aesthetically pleasing look. The Raindrip R567DT is a favorite for its adaptability and ease of installation.
It includes drip tape, which can efficiently water long rows of plants or winding landscaping beds without the need for extensive plumbing skills.
- Installation Ease: High
- Water Efficiency: Excellent
Drip Solutions for Containers and Raised Beds
Containers and raised beds thrive on consistent moisture without overwatering. Kits like the Bonviee Drip Irrigation Kit are designed flexibly to fit various container sizes and shapes.
They usually include drip emitters and stakes to secure the irrigation hose, allowing for targeted watering that reaches the root zone.
- Key Features:
- Adaptable hose lengths
- Adjustable emitters
- Easy to set up and modify
Remember to connect your system to a reliable water source and consider incorporating a timer to automate the irrigation process further, giving you peace of mind and more free time while your garden flourishes.
DIY Drip Irrigation Solutions: Making the Most of Your Water
Creating an efficient water system in your garden doesn’t have to strain your budget. DIY drip irrigation is a practical way to ensure plants get the hydration they need without waste.
This method can be tailored to your garden’s specific requirements, giving you the flexibility to water directly at the root zone of your plants, reducing evaporation and runoff.
When installing your DIY system, here’s a simple guide to get you started:
Assessment:
- Determine the water needs of your plants.
- Evaluate the layout of your garden.
Materials:
- 5-gallon bucket or a garden hose
- ½ inch tubing, grommet, and barbed tees
- Timer (optional for scheduling)
Assembly:
- Connect the tubing to your water source, such as an outdoor spigot.
- Use tee fittings to create branches for multiple planting areas.
- Secure the tubing in place with stakes.
Watering:
- Adjust the flow as needed to ensure deep watering.
- Use a timer to automate the process, saving time and enhancing water conservation.
Your DIY irrigation system will be a cost-effective solution and a significant step towards a more sustainable gardening practice.
Remember, the key to success is in the details—measure twice, cut once, and take the time to check for leaks. Every drop of water saved is a win for your garden and the environment.
See Related: Breaking Down the Best Off-Grid Water Systems
Maintenance Tips for Your Drip Irrigation System

Maintaining your drip irrigation system is crucial for ensuring it operates efficiently, conserving water while providing your plants with the moisture they need. Here’s how to keep your system in top shape:
- Regular Checks: Monthly, inspect your emitters for any signs of clogs. Clogged emitters can lead to uneven watering and stressed plants.
- Filter Cleaning: Your system’s filter keeps debris away from the emitters. Clean or replace filters as needed to prevent clogs. A good practice is to use disc filters, as they are easier to backflush and less prone to clogging compared to screen filters.
| Maintenance Task | Frequency |
|---|---|
| Check emitters | Monthly |
| Flush system | Bi-annually |
| Inspect filters | Every 2-3 months |
| Winterize | Before the first freeze |
- Timely Flushing: At the beginning and end of the growing season, flush your system to clear out any accumulated dirt.
- Winterization: To avoid damage from freezing, make sure to winterize your system by draining all the water before the first winter freeze.
While a sprinkler or watering can seem straightforward, the practicality of a properly maintained drip irrigation system, with its efficient water application and ease of installation, cannot be overstated.
You’ll spend less time worrying about watering and more time enjoying your garden’s bounty. Remember, a well-maintained drip system is not just a convenience; it’s an investment in the health of your garden.
Setting a timer can ensure that water is delivered when your plants need it most, enhancing the system’s water-saving capabilities.
How to Choose the Right Drip Irrigation System for Your Garden Needs
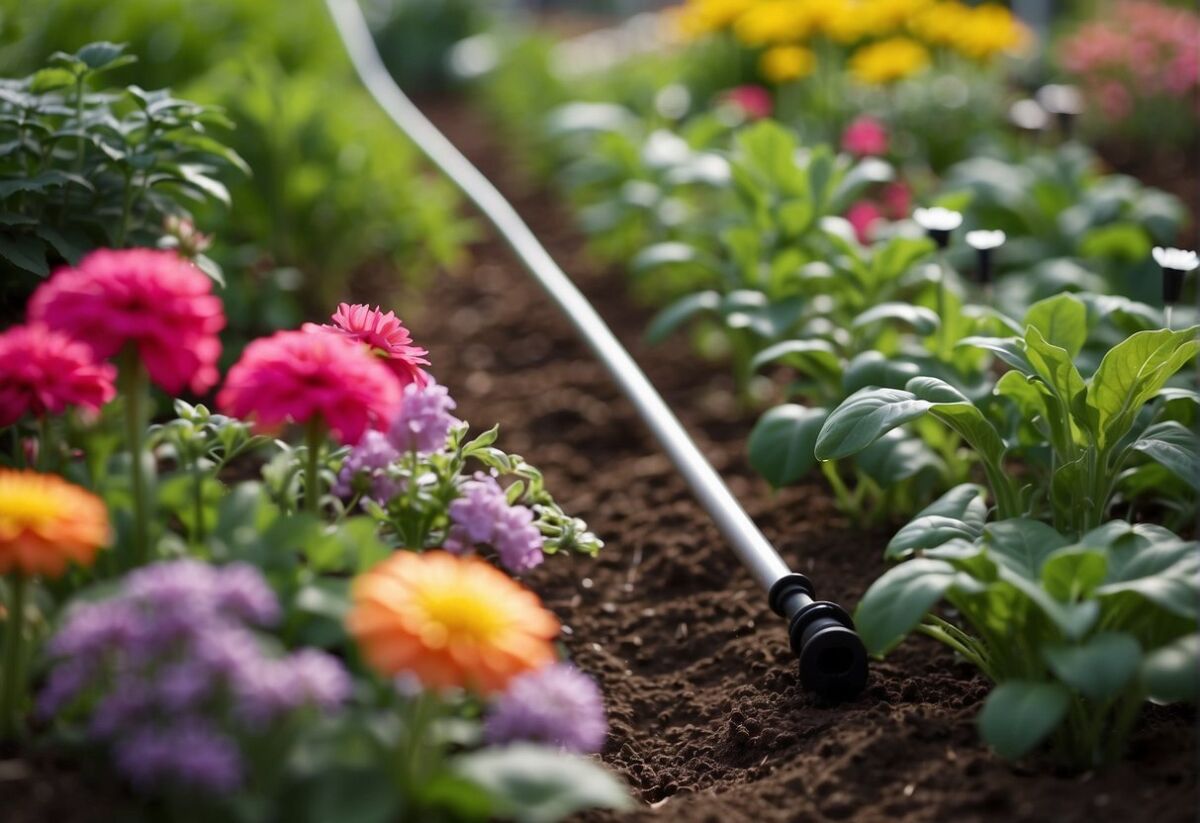
When selecting a drip irrigation system for your garden, consider the specific needs of your plants. A drip system provides targeted hydration directly to the plant roots for an efficient way to water your garden, minimizing evaporation and runoff.
1. Assess Your Garden Layout:
- Consider drip tape for even, direct watering for vegetable gardens or row crops.
- Shrubs and perennial beds may benefit from drip emitters or micro sprays that can be adjusted to the flow requirement of each plant.
2. Water Flow Requirements:
- Evaluate the flow rate appropriate for your garden. This affects how much water is delivered over a certain period.
- Ensure compatibility with your garden’s water pressure.
3. Installation Ease:
- Look for kits with adapters and lateral lines that fit your garden’s layout.
- Systems that offer ** “plug-and-play”** components like connectors and tubing support a practical and quick installation.
4. System Components:
- Control valves allow you to regulate water flow throughout your garden effortlessly.
- Use nozzles that provide adequate coverage without over-saturating certain areas.
5. Professional Advice:
- If you’re unsure, consulting a professional landscaper or farmer can provide tailored insights into the health and needs of your garden.
- They can advise on more complex setups, including automation or zoned watering schedules.
Remember, conserving water is good for the environment and a cost-effective approach to maintaining your lawns and gardens. With a little planning, you can find a drip irrigation system that simplifies the task of watering and ensures your plants thrive.


