For most existing backyard greenhouses, the best insulation is UV-stabilized horticultural bubble wrap installed on the inside after doors, vents, damaged glazing, and frame gaps are sealed. It adds a removable layer of trapped air while allowing useful daylight through. For a new or permanent cold-climate structure, multiwall polycarbonate is the stronger long-term upgrade. A heated greenhouse can gain further efficiency from a retractable thermal curtain closed at night.
Insulation slows heat loss; it does not create heat or guarantee frost-free conditions. Outdoor temperature, wind, glazing, air leakage, greenhouse size, sunlight, and plant density all affect the result. Use a maximum-minimum thermometer and choose a protection level based on the cold tolerance of the plants you are growing. Our guide to how greenhouses stay warm in winter explains the underlying heat cycle in more detail.
Last verified: July 27, 2026. This article compares insulation categories and installation methods. Product dimensions, fire ratings, warranties, prices, and availability can change, so verify those details with the manufacturer or retailer before buying.
Affiliate disclosure: Some shopping links below are affiliate links. If you make a purchase through one of them, Our Endangered World may earn a commission at no additional cost to you. The recommendations are based on published horticultural and energy guidance, not paid placement or claimed hands-on testing.
Key takeaways
- Stop uncontrolled air leaks first. Repair broken glazing and film, weatherstrip doors and vents, and seal unintended frame gaps before adding another material.
- Horticultural bubble insulation is the most practical retrofit for many existing glass and single-wall polycarbonate hobby greenhouses.
- Multiwall polycarbonate is the better permanent investment when replacing glazing or building a cold-climate greenhouse.
- Inflated double polyethylene is well suited to hoop houses because the air space between two UV-stabilized films improves heat retention.
- A retractable thermal curtain works best in a regularly heated greenhouse because it can close at night and reopen for daylight.
- Rigid foam belongs on foundations and opaque walls, not transparent glazing.
- Never block intentional ventilation. A tightly insulated but unventilated greenhouse can develop damaging condensation, mould, and stagnant air.
How greenhouse insulation reduces heat loss
A greenhouse can lose heat through several pathways. The correct product depends on which pathway you are trying to control:
- Air infiltration: Cold air enters through loose doors, vents, broken panes, film tears, and frame gaps. Weatherstripping, repairs, and sealants address this problem.
- Conduction and convection: Heat moves through thin glazing and is carried away by air beside it. Multiwall panels, inflated double film, and bubble insulation add trapped-air layers that slow this transfer.
- Radiant heat loss: Warm surfaces emit infrared energy toward colder surroundings. Reflective layers and energy screens can reduce this pathway, but reflective insulation requires an adjacent air space.
- Excess heated area: A curtain or temporary partition can reduce the surface area and air volume that must be kept warm.
This is why a shiny roll, a clear bubble sheet, weatherstripping, and multiwall glazing cannot be compared solely by price or thickness. They perform different jobs, and the complete installation matters more than an isolated marketing claim.
Best greenhouse insulation options at a glance

| Insulation option | Best use | Effect on daylight | Main advantage | Main limitation |
|---|---|---|---|---|
| Horticultural bubble insulation | Retrofitting an existing glass or single-wall polycarbonate greenhouse | Reduces light moderately | Affordable, removable, and relatively easy to install | Temporary material that can trap condensation if ventilation is poor |
| Multiwall polycarbonate | New builds or permanent glazing replacement | Varies by panel thickness and finish | Durable trapped-air construction and good impact resistance | Higher initial cost and frame-compatibility requirements |
| Inflated double polyethylene film | Hoop houses and polytunnels | Good when the films remain clean and properly tensioned | Creates a continuous insulating air space at a comparatively low material cost | Needs two films, a blower, power, and periodic film replacement |
| Retractable thermal curtain | Heated hobby or commercial greenhouses | Minimal daytime loss when fully retracted | Reduces nighttime heat-loss area without permanently covering the glazing | More complex and expensive to install correctly |
| Rigid foam board | Foundations, knee walls, end walls, and other opaque surfaces | None when kept below or away from transparent glazing | Targets conductive heat loss at the perimeter | Blocks all light and may require protective covering or code compliance |
| Air sealing and weatherstripping | Nearly every greenhouse | None | Low-cost reduction in uncontrolled cold-air infiltration | Does not improve thin glazing by itself |
| Horticultural fleece | Temporary protection around individual plants during cold snaps | Depends on fabric weight and duration | Fast, flexible, plant-level protection | Not whole-greenhouse insulation and not a substitute for heat |
How these options were evaluated
The recommendations are based on published guidance from the Royal Horticultural Society, U.S. university extension programs, the USDA Natural Resources Conservation Service, and the U.S. Department of Energy. No claim of personal product testing is made.
Each option was evaluated using seven practical criteria:
- Ability to reduce an identifiable heat-loss pathway
- Effect on useful winter light
- Compatibility with common greenhouse structures
- Condensation and ventilation implications
- Durability, reusability, and maintenance
- Installation complexity and safety
- Lifecycle value rather than headline purchase price alone
Published R-values and U-factors should be compared only when they describe a complete assembly with a defined thickness, air space, installation method, and test standard. A reflective sheet or bubble layer does not have one universal real-world insulation value in every greenhouse.
1. Horticultural bubble insulation: best overall retrofit

Best for: Existing glass, acrylic, or single-wall polycarbonate hobby greenhouses that need a removable winter layer.
Horticultural bubble insulation creates small pockets of still air between the greenhouse interior and the cold glazing. The Royal Horticultural Society recommends reusable bubble plastic as one way to reduce winter heat loss after broken panes, cracks, doors, and vents have been addressed.
Choose a product explicitly labeled for greenhouse or horticultural use. Look for UV stabilization, a durable laminated construction, enough roll width to minimize seams, and fastening clips or tape compatible with your frame. Ordinary packaging bubble wrap may provide a short-lived emergency layer, but it is not designed for prolonged ultraviolet exposure or repeated greenhouse seasons.
Install the material inside the structure unless the greenhouse or insulation manufacturer specifies another method. Clean and dry the glazing first, secure the material to the frame rather than relying on a few pieces of tape, overlap joins enough to limit drafts, and keep every required door and vent operable.
The tradeoff is light. RHS guidance estimates that an added plastic layer can reduce available light by about 10 percent. That may be worthwhile for tender overwintering plants, but hardy crops and light-sensitive winter vegetables may perform better without a full bubble layer. Treat the material as one component of a broader plan to winterize your greenhouse.
Advantages:
- Practical retrofit for many existing hobby greenhouses
- Removable when maximum spring and summer light returns
- Can be reused when removed carefully, cleaned, dried, and stored
- Works around irregular frames more easily than rigid panels
Limitations:
- Reduces daylight and can become dirty over time
- Loose joins and uncovered frame gaps reduce its effectiveness
- Can worsen condensation when vents are blocked or the greenhouse is never aired
- Needs seasonal removal, inspection, and storage
2. Multiwall polycarbonate: best permanent upgrade

Best for: A new greenhouse, a major renovation, or a cold-climate structure that will be used for many seasons.
Multiwall polycarbonate contains internal channels that trap air between the interior and exterior surfaces. Oklahoma State University Extension notes that double- and triple-wall polycarbonate panels are highly impact resistant and that heat retention depends on the number and thickness of the layers.
This is a glazing system rather than a temporary liner. It can preserve more usable space and provide a cleaner installation than hanging bubble material each winter, but the frame, glazing bars, fasteners, expansion clearances, wind loading, and snow loading must all be compatible with the selected panel.
Compare manufacturer-tested U-factor or R-value, visible-light transmission, panel thickness, UV-protected side, condensation-control coating, fire classification, warranty terms, and required edge tape. Do not assume that every twin-wall or triple-wall sheet performs the same way.
For a structure that is fundamentally too thin, leaky, or lightly framed for local winters, replacing it with one of the best greenhouses for cold climates may offer better lifecycle value than repeatedly adding temporary layers.
Advantages:
- Permanent air-channel construction
- Good impact resistance compared with fragile glass
- Available in different thicknesses and light-diffusing finishes
- Eliminates annual bubble-wrap installation when properly specified
Limitations:
- Higher upfront material and installation cost
- May require new glazing bars or structural changes
- Cut edges and channels must be sealed according to the manufacturer’s system
- Thicker is not automatically better if the resulting light loss is unsuitable for the crop
3. Inflated double polyethylene: best for hoop houses

Best for: Hoop houses, Quonset greenhouses, and polytunnels designed to accept a double-film covering.
This system uses two layers of greenhouse-grade polyethylene separated by a small, continuously inflated air space. The trapped air improves heat retention while the flexible film remains compatible with curved frames. Oklahoma State University Extension identifies inflated double polyethylene as a relatively inexpensive greenhouse-covering option and recommends UV-stabilized products that resist premature yellowing and cracking.
The inner film may also be available with infrared-retaining or anti-condensation properties. These features must be verified on the exact film rather than inferred from thickness alone. Use film sold for greenhouse covering rather than generic construction plastic; our comparison of greenhouse plastic film explains the main specifications.
A proper installation needs a correctly sized inflation blower, sealed film edges, suitable channels or locking systems, and enough pressure to separate the layers without overstressing the film. The blower consumes electricity, and a prolonged outage can allow the films to collapse together and reduce the insulating air space.
Advantages:
- Good fit for curved greenhouse frames
- Continuous insulating air layer across much of the structure
- Lower material cost than many rigid glazing systems
- UV-stabilized and anti-drip film options are available
Limitations:
- Requires a blower, power supply, and careful edge sealing
- Film has a finite service life and must eventually be replaced
- Tears, loose film, and failed inflation reduce performance
- Condensation management remains necessary
4. Retractable thermal curtain: best for a heated greenhouse
Best for: A greenhouse that is heated regularly enough for nighttime energy loss to justify a more substantial system.
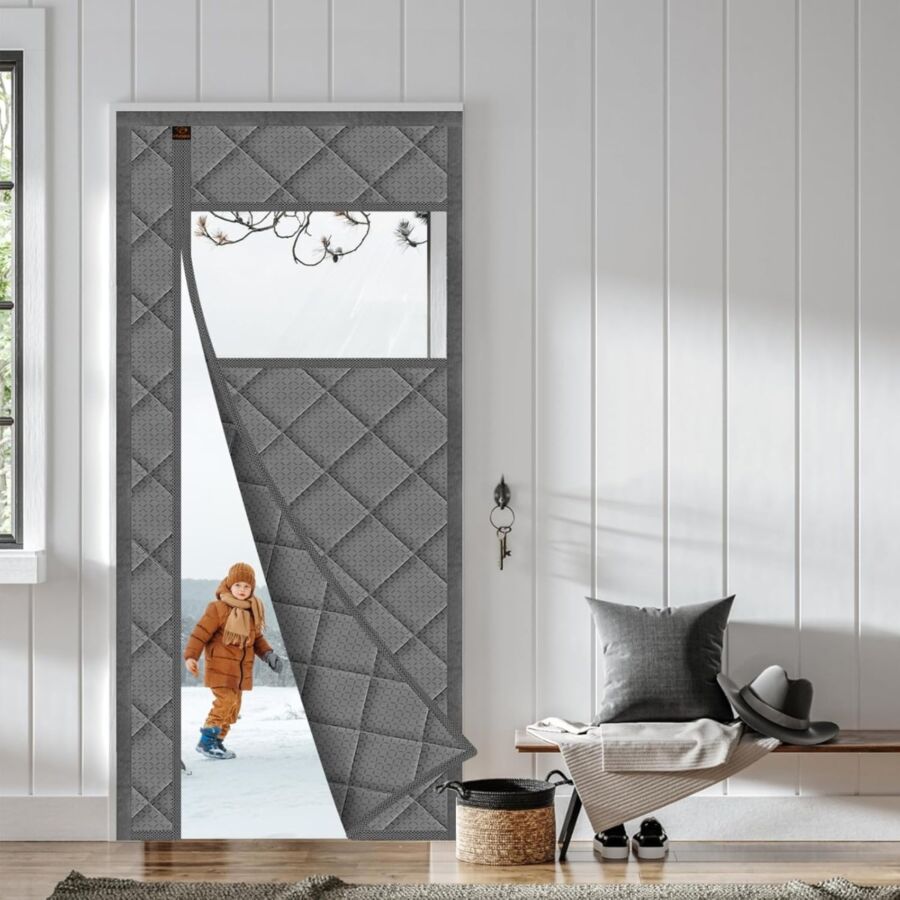
A thermal curtain, energy screen, or energy blanket is extended below the roof or around the active growing zone after daylight fades. It reduces the exposed heat-loss area, traps still air, and can reduce the volume that must be heated. It retracts during the day so plants can receive more light.
UMass Extension reports heating-cost savings of 30 to 50 percent for commercial energy-screen systems. That range should not be treated as a guaranteed backyard-greenhouse result. Actual performance depends on the screen rating, edge seal, climate, glazing, heating schedule, controls, installation quality, and whether the curtain is closed consistently.
A small greenhouse may use a manually operated screen, while a larger installation may need tracks, support cables, motors, and automated controls. Closed-weave screens provide greater heat retention but require careful humidity management. Verify flame-retardant properties, heater clearances, escape routes, interference with roof vents, and the space required for the bundled screen.
This is usually a capital project rather than an impulse purchase. Compare its estimated heating savings with the structure, heater, and operating expenses covered in our greenhouse cost guide.
Advantages:
- Preserves daylight when fully retracted
- Can reduce both heat-loss area and heated air volume
- Manual and automated configurations are available
- Some systems can also provide summer shading
Limitations:
- Higher installation cost and complexity
- Gaps around the edges can undermine performance
- Closed screens can trap humidity if airflow is poorly managed
- Material selection must account for fire safety and local requirements
5. Rigid foam board: best for foundations and opaque walls

Best for: Concrete or masonry foundations, below-glazing knee walls, solid end walls, attached walls, and other surfaces where sunlight is not needed.
Transparent roof and wall area is not the only part of a greenhouse that loses heat. The foundation, perimeter, and unglazed wall sections can conduct heat into cold outdoor air or soil. The USDA Natural Resources Conservation Service recommends insulating greenhouse perimeter walls where doing so will not adversely affect light transmission.
Use a moisture-compatible rigid board rated for the intended above-grade or below-grade application. Protect exposed foam from sunlight, tools, rodents, and ignition sources as required by the manufacturer and local code. Seal board joints with a compatible system rather than assuming friction-fit panels are airtight.
On a freestanding greenhouse, an opaque pole-facing wall is the least damaging place to sacrifice sunlight: north-facing in the Northern Hemisphere and south-facing in the Southern Hemisphere. Do not copy this rule onto a site where nearby buildings, slopes, or seasonal shade produce a different solar pattern.
Coordinate below-grade insulation with drainage, frost depth, foundation construction, and the selected surface from our guide to the best greenhouse floors.
Advantages:
- Adds insulation without shading glazing when correctly placed
- Targets perimeter and foundation heat loss
- Can form part of a durable permanent installation
- Useful on attached, knee-wall, and partially opaque designs
Limitations:
- Blocks all light where installed
- Below-grade work may require excavation and drainage planning
- Some products need a protective or fire-rated covering
- Must be compatible with moisture, soil contact, sealants, and local code
6. Air sealing and weatherstripping: best first step

Best for: Nearly every greenhouse, especially older structures with loose doors, failed seals, damaged glazing, or torn film.
Air sealing is not insulation in the narrow material sense, but it is often the first improvement to make. Another layer cannot perform well when cold air continues to enter around a door, louver, roof vent, missing pane, or open frame joint.
The UMass Greenhouse Energy Conservation Checklist recommends weatherstripping doors, vents, and fan openings and repairing broken glass or holes in plastic. RHS guidance also recommends replacing broken panes, renewing door and ventilator seals, and using transparent silicone on appropriate cracks.
Match the repair to the surface. Use greenhouse-film repair tape on compatible clean film, replacement gaskets or glazing seals where available, weatherstripping that still allows the door to close correctly, and a clear flexible sealant approved for the frame and glazing materials. Some polycarbonate systems must move with temperature changes, so do not fill expansion channels or drainage paths indiscriminately.
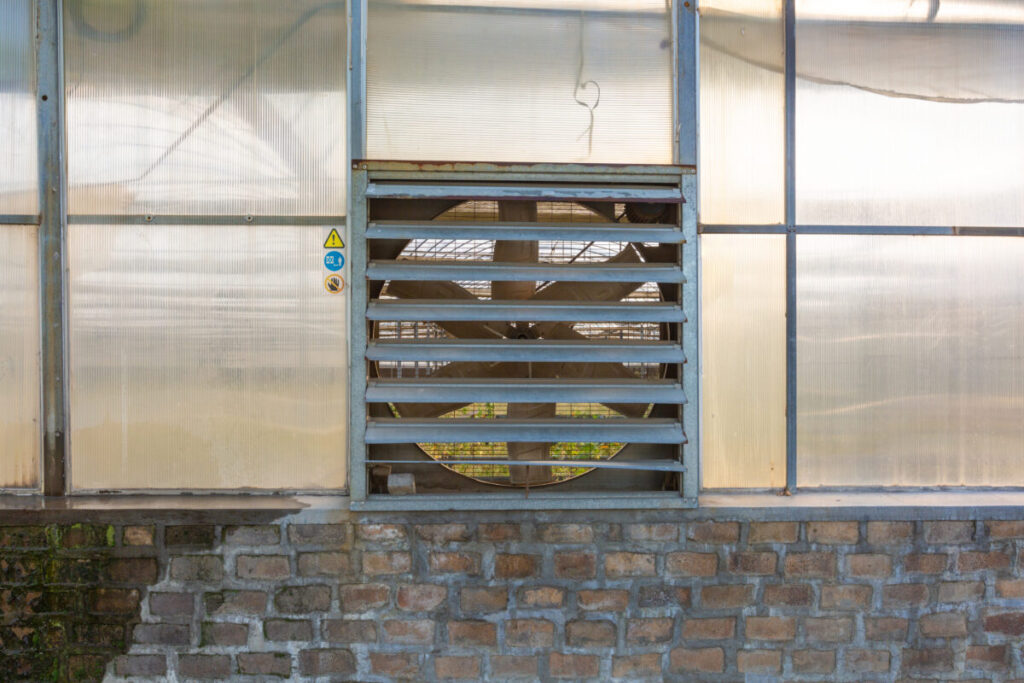
Intentional ventilation is not a leak. Roof vents, side vents, louvers, and doors still need to function on mild or sunny days. Cover an unused winter fan opening only when the covering can be removed safely and does not compromise required ventilation or equipment operation.
Advantages:
- Little or no reduction in daylight
- Lower cost than replacing the complete glazing system
- Improves the performance of every insulation layer added afterward
- Repairs can prevent water entry and further material damage
Limitations:
- Does not materially improve the center of a thin pane or single film
- Incorrect sealants may damage plastics or interfere with panel movement
- Oversealing can create a humidity problem
- Old frames may need replacement parts rather than more sealant
7. Horticultural fleece: best temporary plant protection

Best for: Adding a temporary layer around tender plants during an occasional cold snap.
Fleece works at plant level rather than insulating the entire greenhouse envelope. It can be draped loosely over plants, supported above fragile foliage, or wrapped around containers according to the crop and product instructions.
The Royal Horticultural Society reports that heavier fleece can provide about 2°C of frost protection, while lighter fleece admits more light. That figure is a useful indication, not a guarantee: wind, moisture, fabric weight, fit, duration, and the severity of the freeze all affect the result.
Fleece is useful as a second line of defense inside an insulated greenhouse, especially when only a few plants are tender. It should not be described as a substitute for structural insulation or controlled heat. Check plants for trapped moisture, remove or loosen the covering when temperatures rise, and account for pollination requirements.
Advantages:
- Fast to deploy around selected plants
- Avoids covering the entire greenhouse
- Available in different fabric weights
- Easy to fold and store when dry
Limitations:
- Provides limited temperature protection
- Can reduce light and restrict access while in place
- Wet or poorly managed coverings may encourage plant-health problems
- Many synthetic fleeces are difficult to recycle through household programs
What about reflective foil bubble insulation?

Foil-faced bubble products are often advertised with impressive insulation figures, but a radiant barrier does not work like multiwall glazing or bulk foam. The U.S. Department of Energy explains that a reflective surface must face an adjacent air space to reduce radiant heat transfer.
That makes reflective material potentially useful on an opaque lower wall, solid end wall, under-bench area, removable night panel, or properly designed thermal curtain. It is usually a poor choice across the roof or transparent walls because it blocks the sunlight the greenhouse was built to collect.
Do not assign a greenhouse a high R-value merely because the roll’s packaging displays one. Confirm whether the rating describes the material alone or a complete tested assembly, including the required air space, orientation, seams, and boundary conditions. Also verify flame-spread information and heater clearances.
Best insulation by greenhouse type
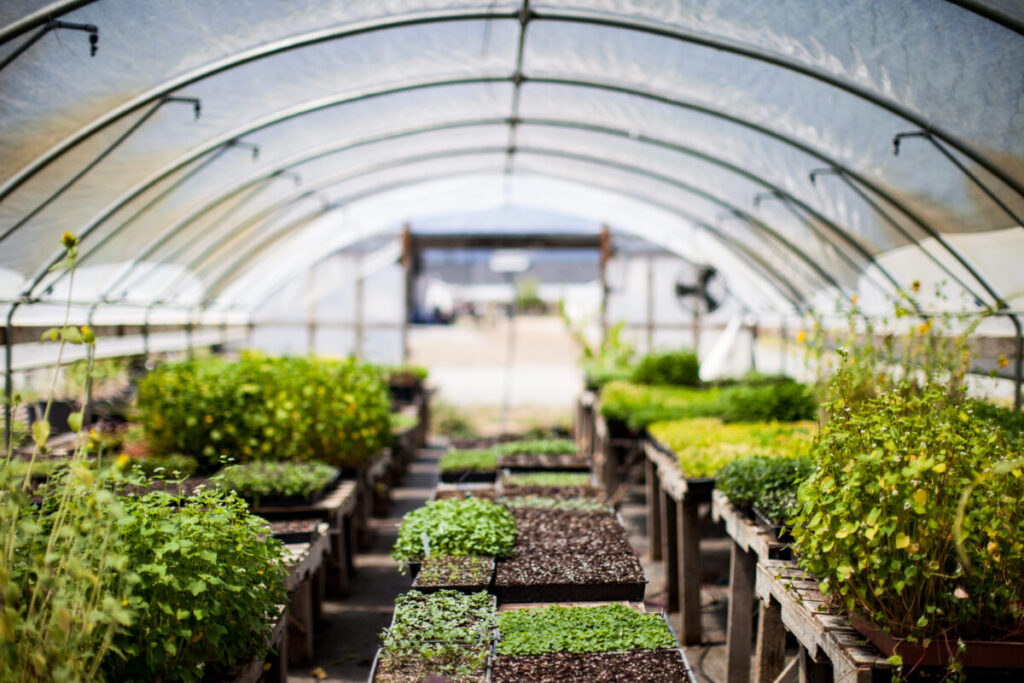
| Greenhouse type | Best starting approach | Potential upgrade | Watch for |
|---|---|---|---|
| Single-pane glass | Repair panes and seals, then add interior horticultural bubble insulation | Replace selected or all glazing with a compatible multiwall system | Drafts at glazing bars, breakage, and winter light loss |
| Single-wall polycarbonate | Seal frame joints and add a removable interior bubble layer | Upgrade to thicker multiwall panels if the frame supports them | Panel expansion, condensation channels, and incompatible sealants |
| Existing multiwall polycarbonate | Repair seals and insulate opaque perimeter areas first | Add a retractable night curtain in a heated structure | Unnecessary extra layers that reduce light without addressing air leaks |
| Hoop house or polytunnel | Repair and tension the film | Install two UV-stabilized layers with a designed inflation system | Power loss, tears, loose film, and condensation |
| Lean-to greenhouse | Seal the exterior envelope and inspect the shared wall connection | Insulate an appropriate opaque attached wall or foundation | Building-envelope moisture, flashing, and local code requirements |
| Heated hobby greenhouse | Combine air sealing with an appropriate glazing or bubble layer | Add a manual or automated thermal curtain | Humidity, heater clearances, thermostat accuracy, and operating cost |
| Mini greenhouse | Anchor the structure, seal obvious gaps, and add an interior horticultural bubble layer where safe | Use fleece around the most vulnerable plants | Wind stability, blocked vents, rapid daytime overheating, and limited frame strength |
How to insulate a greenhouse for winter
- Set a minimum-temperature goal. Identify the lowest temperature your plants can tolerate. Protecting hardy greens from wind is a different task from keeping tropical plants frost-free.
- Record the current conditions. Use a maximum-minimum thermometer at plant height. Note cold corners, strong drafts, condensation, and the lowest overnight readings before changing the structure.
- Inspect and clean the envelope. Replace broken panes, patch film tears, clear drainage channels, clean glazing, tighten loose hardware, and check that doors and vents close correctly.
- Seal uncontrolled gaps. Add compatible weatherstripping, glazing seals, repair tape, or flexible clear sealant. Keep all required ventilation systems functional.
- Choose the layer that fits the structure. Use horticultural bubble material for a seasonal retrofit, multiwall panels for a permanent glazing upgrade, inflated double film for a compatible hoop house, or rigid foam for opaque perimeter surfaces.
- Install with few gaps and unnecessary overlaps. Follow manufacturer instructions, secure materials to the frame, preserve drainage and expansion details, and keep insulation away from unsafe heat sources.
- Reduce the heated zone when practical. Group tender plants together and use a safe internal screen so you are not heating unused space. Insulation preserves heat; a separate strategy is needed to heat a greenhouse without electricity or with controlled equipment.
- Monitor temperature and humidity. Check overnight lows after installation. Open doors or vents on suitable mild, sunny days to release excess moisture, and inspect plants for mould or condensation-related damage.
How much insulation material do you need?
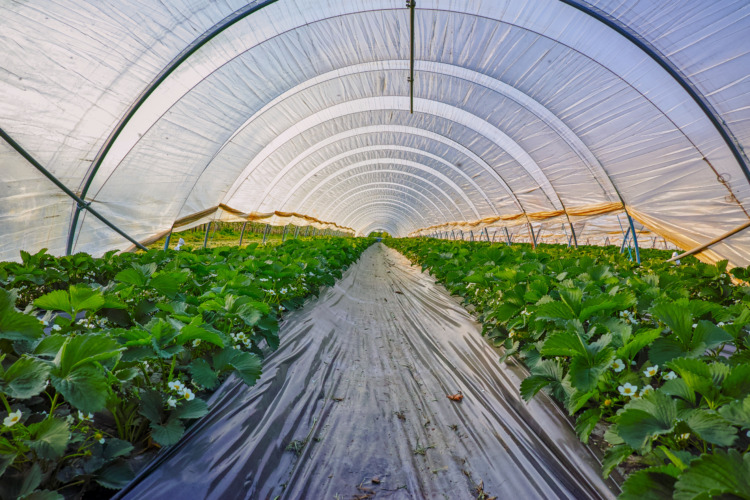
Measure the surface that will actually be covered rather than buying from the greenhouse floor area alone. For a temporary bubble layer, calculate each side wall, end wall, roof slope, and gable separately.
Practical material estimate: total coverable surface area minus doors and vents that must remain clear, plus approximately 10 to 15 percent for cuts, overlaps, fastening, and irregular frame details.
For example, calculate each rectangular wall as width × height. Calculate each roof slope from its actual sloping length rather than the building’s horizontal width. Measure triangular gables separately. Add the results, convert all measurements to the same unit, and compare that number with the usable dimensions of the roll or panel.
Buying the widest practical bubble roll can reduce seams, but an oversized roll is not helpful if it is too awkward to position without tearing. For rigid panels, plan the cutting layout around frame spacing and manufacturer-required edge support before ordering.
Common greenhouse insulation mistakes
- Buying packing wrap instead of greenhouse-grade bubble insulation. Packaging material is not designed for repeated ultraviolet exposure or seasonal greenhouse use.
- Covering roof vents, side vents, or doors permanently. Reduced heat loss does not eliminate the need for air exchange and humidity control.
- Adding layers before repairing obvious leaks. Cold air entering through a door or torn film can undermine the more expensive material around it.
- Using reflective foil over transparent glazing. The foil blocks useful sunlight and needs an adjacent air space to perform as a radiant barrier.
- Assuming insulation creates heat. A well-insulated greenhouse can still fall below freezing during a long cold period.
- Ignoring foundations and opaque walls. These areas can often be insulated without sacrificing plant light.
- Comparing isolated R-values without assembly details. Air gaps, seams, panel thickness, framing, wind, and installation quality change real performance.
- Leaving winter material in place through hot weather. Remove or retract insulation when it causes overheating or unnecessary shade. Use purpose-selected shade cloths for greenhouses when summer solar control is the actual goal.
- Placing combustible plastics too close to heaters. Follow the heater and insulation manufacturers’ clearance instructions, use greenhouse-rated equipment, and have permanent electrical supplies installed by a qualified professional.
Sustainability and lifecycle considerations

The lowest-plastic option is not automatically the lowest-impact choice if it wastes heat, fails after one winter, or must be replaced repeatedly. Compare the complete lifecycle:
- Repair serviceable glazing and seals before replacing the entire structure.
- Choose durable bubble insulation that can be removed in large sections, cleaned, dried, and reused.
- Heat only the plant zone that requires protection rather than an empty greenhouse.
- Compare a permanent multiwall-panel upgrade with the recurring labor and disposal associated with temporary film.
- Use replaceable gaskets, clips, and repair systems that extend the life of the main glazing.
- Check local recycling rules rather than placing agricultural film, bubble plastic, foam, or fleece in a household recycling bin by assumption.
- Remove insulation when it unnecessarily increases cooling or lighting demand.
The most efficient solution is often a layered one: repair and air-seal the existing structure, add insulation only where it solves a measured problem, preserve winter light, and avoid heating more space than the plants require.
Final recommendation
For a typical existing backyard greenhouse, begin with weatherstripping and repairs, then add UV-stabilized horticultural bubble insulation inside the frame. This combination is relatively accessible, removable, and appropriate for many seasonal winterization projects.
Choose multiwall polycarbonate when planning a permanent cold-climate greenhouse or replacing the glazing. Choose inflated double polyethylene for a hoop house built to support it. Consider a retractable thermal curtain when the greenhouse is heated often enough to justify the installation. Use rigid foam only on foundations and opaque surfaces, and keep fleece available for temporary protection around the most vulnerable plants.
Whatever system you choose, verify the overnight result with a thermometer. Insulation is successful when it preserves the required plant temperature with less heat loss without creating unacceptable shade, condensation, or safety risks.
Frequently asked questions
What is the best insulation for a greenhouse?
For most existing glass or single-wall polycarbonate hobby greenhouses, the best starting point is to seal air leaks and add UV-stabilized horticultural bubble insulation inside. For a new or permanent cold-climate greenhouse, multiwall polycarbonate is usually the stronger long-term option. Heated greenhouses may benefit most from a retractable thermal curtain at night.
Can I use ordinary packaging bubble wrap in a greenhouse?
Ordinary packaging wrap may work as a short-term emergency layer, but it is not designed for prolonged sunlight or greenhouse humidity. Use UV-stabilized horticultural bubble insulation when possible because it is made for seasonal greenhouse use and is easier to reuse.
Should greenhouse bubble wrap go inside or outside?
It is usually fitted inside a hobby greenhouse, where wind and weather are less likely to damage it. Secure it to the frame, minimize gaps, and keep doors, roof vents, and side vents operable. Follow the greenhouse and insulation manufacturers’ instructions for your exact frame and glazing.
Will insulation keep a greenhouse above freezing?
Not by itself. Insulation slows heat loss but does not create heat. The result depends on outdoor temperature, wind, solar gain, greenhouse size, air leakage, thermal mass, and the plants inside. Use a maximum-minimum thermometer and add safe thermostatically controlled heat if tender plants must remain above a set temperature.
Can I use reflective foil insulation in a greenhouse?
Yes, but only where blocking light is acceptable. Reflective insulation needs an adjacent air space to perform as a radiant barrier, so it is better suited to opaque lower walls, end walls, under-bench areas, or removable night curtains than to transparent glazing.
How can I insulate a greenhouse without blocking too much light?
Start with air sealing, repair damaged glazing, insulate the foundation and opaque walls, and use a retractable curtain only at night. If you add bubble insulation, keep it clean, minimize overlapping layers, and leave it off light-critical sections when your plants are hardy enough to tolerate the temperature.
How do I insulate a plastic greenhouse?
Repair holes, tighten the cover, and weatherstrip doors and end-wall openings first. A hoop house can use two layers of UV-stabilized greenhouse film separated by an inflated air space. A small plastic greenhouse may use an interior horticultural bubble layer or plant-level fleece, provided ventilation remains available and the frame can carry the added material.
Related greenhouse guides
- How to Winterize a Greenhouse
- Do Greenhouses Stay Warm in Winter?
- Best Greenhouses for Cold Climates
- How to Heat a Greenhouse Without Electricity
- Best Greenhouse Floors

