Are you building a greenhouse or a loop house and trying to figure out how to attach greenhouse plastic to a metal frame? This comprehensive guide takes you through all the necessary steps.
When building a greenhouse, your work won’t be complete until you install that greenhouse plastic cover. The same case applies to a loop house. And, if it’s a DIY project, the question of how to attach greenhouse plastic to a metal frame will certainly arise.
The fact is, installing that greenhouse is not all that simple – especially when you don’t have a clue how to do it. Luckily you’ll have this guide on your side. We will comprehensively discuss all the possible ways you can use to make sure the project becomes a success.
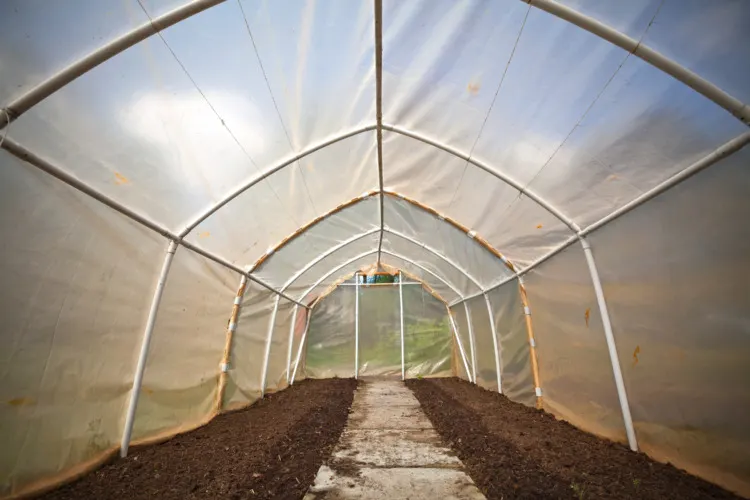
Also, we will look into the necessary steps you should follow in each method and the various factors that might affect your project – for instance, what kind of plastic to use or where to place greenhouse plastic in a greenhouse.
But, if you are looking for an already assembled greenhouse, our piece on the best greenhouses can help you in choosing one. You can also check out some of the best aquaponics greenhouse kits, especially if you have space constraints.
How to Attach Greenhouse Plastic to Metal Frame
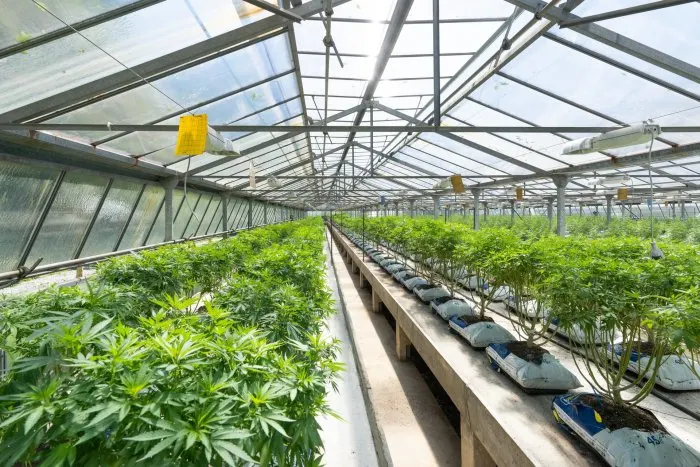
If you have the know-how, attaching greenhouse plastic to a greenhouse can be quite a simple task. However, it can prove an uphill task if you are just guessing what to do as the project goes on. To remove the guesswork aspect, let’s dive in and see some of the best tactics on how to do it.
Generally, there are four main methods of installing that greenhouse plastic.
Single Poly Lock Channel/Spring Wire Channel
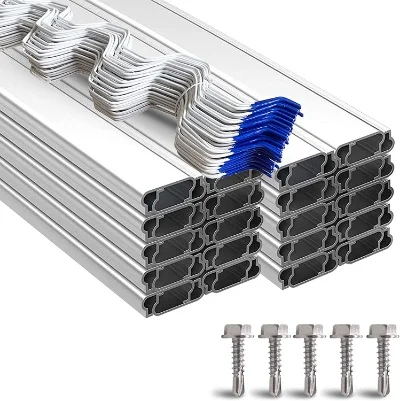
This is one of the most common methods for those who want to learn how to attach greenhouse plastic to a metal frame. The method gets its name from the hardware used to lock the greenhouse plastic to the metal frame.
The hardware comes in different names like the U Channel, Zigzag Wire, Lock Channel, or C Channel. But, whichever name you come across, they all mean one and the same hardware and work in the same way.
Note: this method is ideal if you wish to attach your greenhouse plastic semi-permanently or permanently. Also, it works well on curving sections of metal framing.
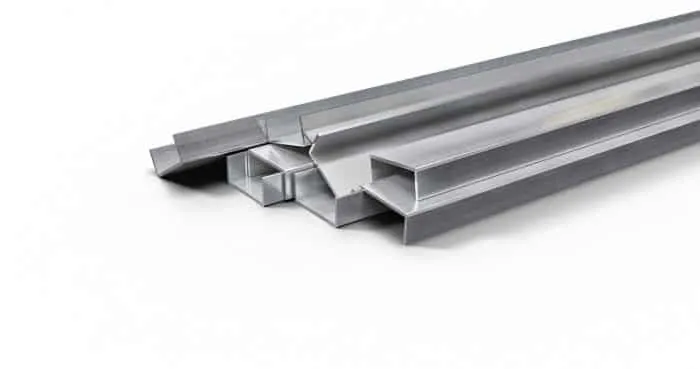
The channel is usually made from aluminum, but you can also find one from galvanized steel. As for where to attach it, the channel can be attached to various frames, including lumber or square and round steel tubes.
This is how to attach greenhouse plastic to a greenhouse using the Spring Wire Channel:
Screw your Channel to the Metal Frame
To securely hold the greenhouse plastic in place, the channel should first be secured on your structure. This will depend on where on the greenhouse structure you want to install the plastic cover.
This should be done by screwing it firmly to the metal frame using several Self-Tapping Screws. The good thing with this type of screw is that it will drill through both the channel and the frame without much effort. So, it’s not hard as it sounds.
Screwing the channel to the metal frame lays the foundation for installing greenhouse plastic.
Make a Contiguous Seal
Once you are through with the first channel, screw the next one in a series, up to the length needed. The good thing with these channels is that they interlock perfectly, creating a contiguous seal, invulnerable to strong wind and harsh weather. You achieve this by installing them one after the other, without leaving any gap between them.
Install the Greenhouse Plastic
After attaching the channels, you can now install the greenhouse plastic into the channel using a Spring Wire. First, place the greenhouse plastic on the channel. Then, twist your spring component back and forth on top of the plastic cover to secure it onto the channel.
When you are through with the process, the greenhouse plastic will be firmly attached, making it quite hard to detach. And from here, all you need is to find the best starting seeds for your greenhouse and start enjoying year-round produce.
See Related: Best Greenhouse Plastic Sheets for Protection
Double Poly Lock Channel/Spring Wire Method
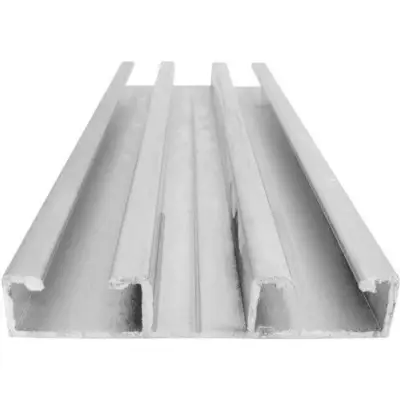
This method is not different from the first one, except that the channel component, in this one, contains twin rails. For this reason, this method becomes more effective as it secures greenhouse plastic twice.
Unlike the single poly lock channel, the double lock one serves as a structural component of the greenhouse structure. Securing the double lock channel follows the same steps as with the single-channel one using self-tapping TEK screws. The only difference is that your greenhouse cover will be secured twice.
However, you can also use a bolt and nut technique to fasten your double-channel lock to the greenhouse framing. This technique will, however, require more accessories and items, including tension bands, bolts and nuts, two-hole straps, TEK screws, and channel connection plates.
And to make the work easier, you’ll need tools like vice grips, channel locks, drill driver, impact driver, 5/6-inch driver bit (hexagonal head), and torpedo level.
See related: 10 Best Shade Cloths for Greenhouses
Crucial Steps:
- The first step is to attach the tension bands to the structure’s extreme frames, with their flat side facing the tunnel’s exterior. Use channel locks to crimp the ends of these tension bands to help make it easier for the bolts to get through the holes as you connect your double channel.
- Slide the bolt heads into the slots at the back of your double channel to allow easier fastening to the tension bands or the two-hole straps.
- If you are doing this alone, hold the channel in place using vice grips, which act as your second pair of hands.
- Secure the double channel to the frame using the tension bands, nuts, and bolts you earlier slid into the channel. Ensure that your double channel terminates at the interior edge of the frame. Now you can tighten your nuts and bolts.
- The next step is to secure the double channel along the rest of the structure, using bolts (already slid into the channel), nuts, and two-hole straps. But before tightening the nuts, ensure that the hoop/frame and the channels are well aligned using a torpedo level.
- Where two double channels meet, use a splice plate to connect the two. Screw the ends of your double channels directly into the splice plate and frame/hoop using TEK screws.
- Repeat the process for all your double channels, and you’ll be good to go.
- Once through, you can now attach your greenhouse plastic, as discussed earlier, using the Spring Wire.
Advantages of this method include:
- You can use it as a stand-alone hip rail for your greenhouse
- It allows you to separately remove different plastic pieces in case you wish to replace or secure them better
After this, you have your greenhouse is ready to host your first batch of crops.
Note: If you just want a small greenhouse for your indoor plants or flowers, pre-assembled mini-greenhouses will be a great choice.
Rope-and-Pressure Method
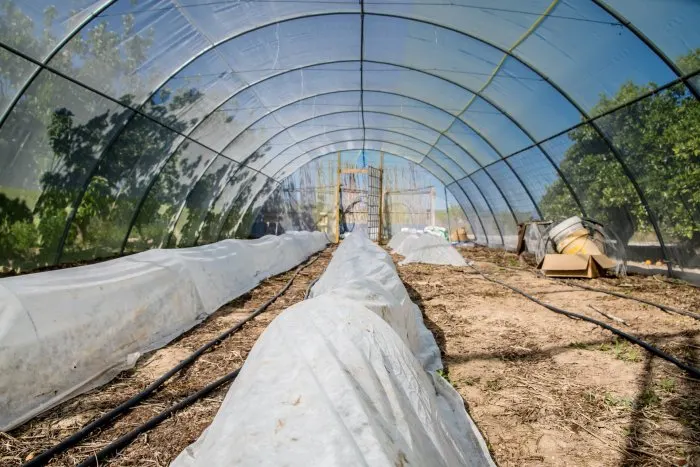
This is your third option on how to attach greenhouse plastic to a greenhouse or a loop house. Also, it’s the simplest method of covering your structure most cost-effectively. However, this method has its drawbacks, with the major one being; it’s not ideal for permanent structures.
So, how do we install greenhouse plastic here? At the bottom of each metal frame/hoop, there are some metal components you can use to fasten the ropes. Tie your ropes to all or some of these metallic components at specified distances.
Place your greenhouse plastic on the top of your structure and use the ropes to hold it down by tightening the ropes to the metal frames on the other side of the structure. The ropes should be woven from one side to the other, attaching them to the metal components on one side, taking them over the plastic cover, and fastening them to the other side of the structure.
Repeat this until the entire greenhouse plastic is held down firmly by the ropes. Ensure you exert enough pressure to keep the greenhouse plastic in place.
This method is ideal for smaller greenhouses and semi-permanent ones. The plastic cover can be pulled up through the frames to allow airflow within the greenhouse. If you are looking for a simple, low-cost method of installing greenhouse plastic on a metal frame, this one will fit you best.
See Related: How to Grow Sugar Cane Indoors
Snap Clamps Method
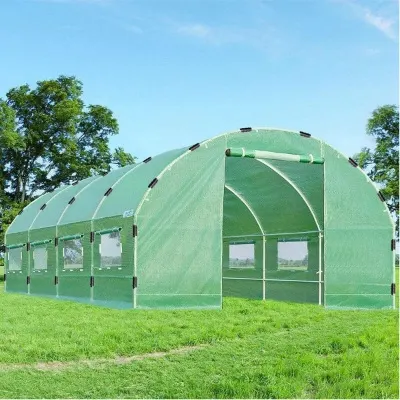
How do I attach greenhouse plastic to the metal pipe greenhouse frame? If this is your concern, then this method is your answer. This technique uses snap clamps to help secure greenhouse plastic to greenhouses made from metallic tubes and pipes.
The snap clamps are specially designed to help attach plastic covers to tubular greenhouse structures. They are only ideal for greenhouse structures with specific outer diameters on their tubing, as they are made in standard sizes.
The clamps come in various standard diameters, including 1.315 OD, 1.66 OD, or 1.90 OD. These clamps resemble round clips and work perfectly well to attach your greenhouse plastic to the structure’s round pipes and tubes.
Snap clamps are most suitable for structures where the greenhouse plastic faces minimal wind pressure and strain. You can use snap clamps when making a roll-up sides system, where you attach the greenhouse plastic to a roll bar.
This system enables you to roll up the greenhouse plastic when you need more air to go into the greenhouse. Note: snap clamps are not ideal when installing the overhead greenhouse plastic on your structure. This is because they cannot hold the greenhouse plastic contiguously throughout the entire metal tube’s length.
Generally, the clamps are available in small lengths, making it challenging to firmly hold the plastic onto the metallic tube for the entire length. For this reason, snap clamps are ideal for temporarily attaching the greenhouse plastic to the structure before identifying a more permanent solution.
See Related: Important Farming Skills You Need to Know
What Kind of Plastic to Use for Greenhouse
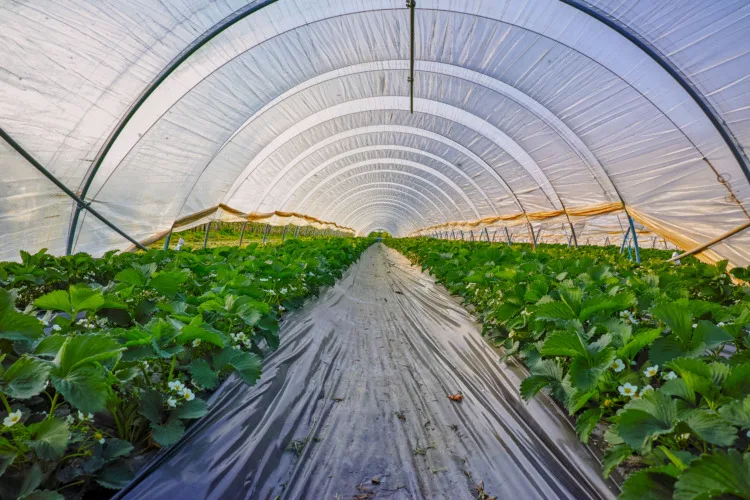
So, now that you know how to attach greenhouse plastic to the metal frame, which is the best type of greenhouse plastic sheeting?
Well, when shopping for the best plastic for greenhouse sheeting, polycarbonate plastic takes the day. This is a twin-walled polyethylene-made plastic that is sturdy and durable. If offered proper maintenance, polycarbonate greenhouse plastic can serve you for more than 10 years.
Some of the best greenhouse plastic sheeting you can try out include:
- Clear Greenhouse Plastic by AmazonCommercial – this 6 mils plastic sheeting is UV resistant, with excellent light transmission qualities.
- Greenhouse Plastic Film by A&A Green Store – It’s a 6 mil clear polyethylene film that is UV Resistant (4 years), durable, and offers the best light transmission qualities.
- Greenhouse Clear Polyethylene Covering by SUNVIEW – offers superior strength, is UV treated, and comes with a 4-year guarantee.
With one of these plastic coverings, you are guaranteed an all-year-round growing season, whether you are growing vegetables, flowers, or fruits.
Related Resources
